
Pom-poms are handy craft items to have around and are easy to make with yarn. In various sizes, they can be used for so many different craft projects. I make a lot of pom-poms for knitted hats. I use the Clover pom-pom makers and if you haven’t experienced the joy of using these – well, you really must! (I am just a little addicted to making pom-poms with these, can you tell?) I recently added a pom-pom to my Royal Slouch hat and took a few photos along the way so that I could share the process.
Clover Pom-Pom Makers
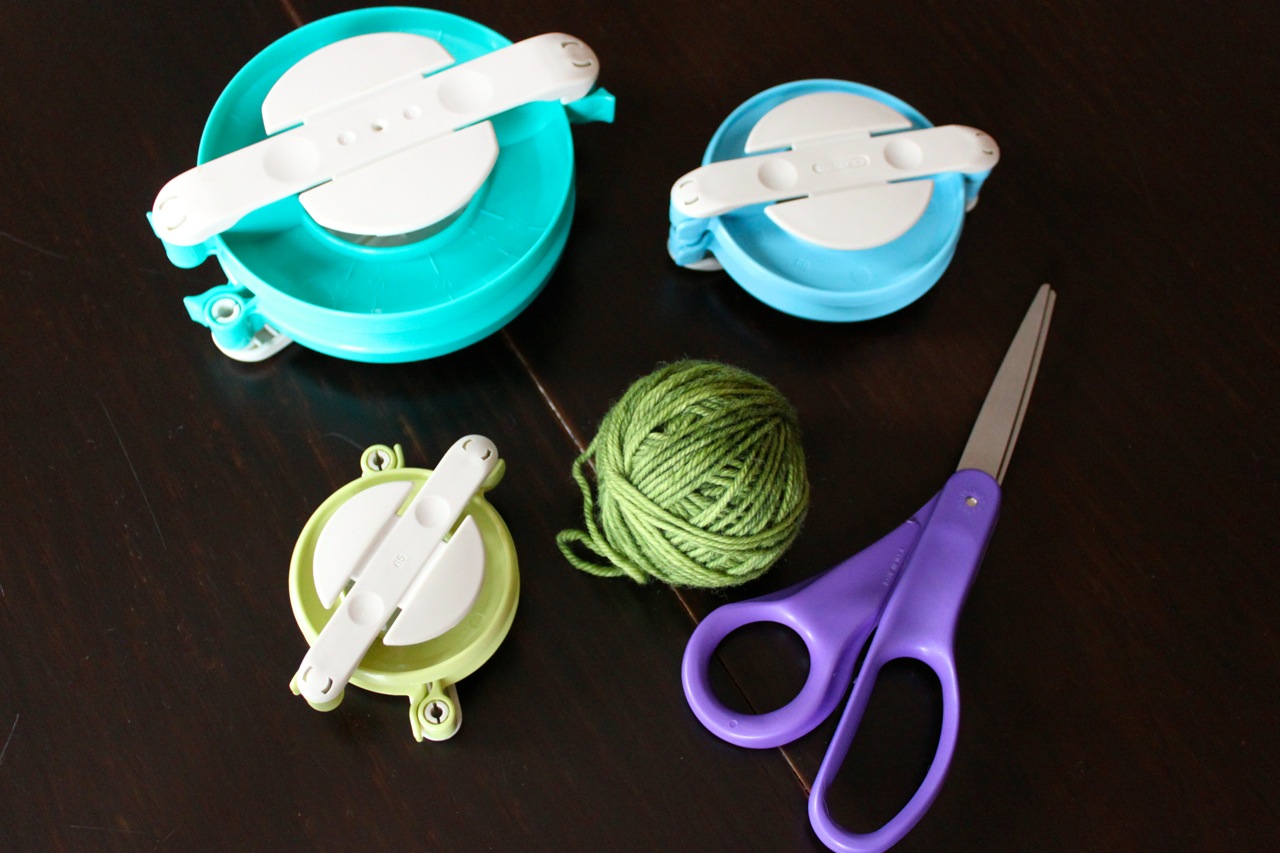
The Clover pom-pom makers come in several sizes. I ordered mine from Amazon. I have the Clover Extra Large Pom-Pom Maker![]() (the teal coloured one in the photo below) and the Clover Large Pom-Pom Maker Set
(the teal coloured one in the photo below) and the Clover Large Pom-Pom Maker Set![]() (the blue and the green ones in the photo below). There is also a Clover Small Pom Pom Maker Set
(the blue and the green ones in the photo below). There is also a Clover Small Pom Pom Maker Set![]() available and even a heart-shaped pom-pom maker too.
available and even a heart-shaped pom-pom maker too.
| Click here to see all Clover Pom-Pom Makers at Amazon.com |![]()
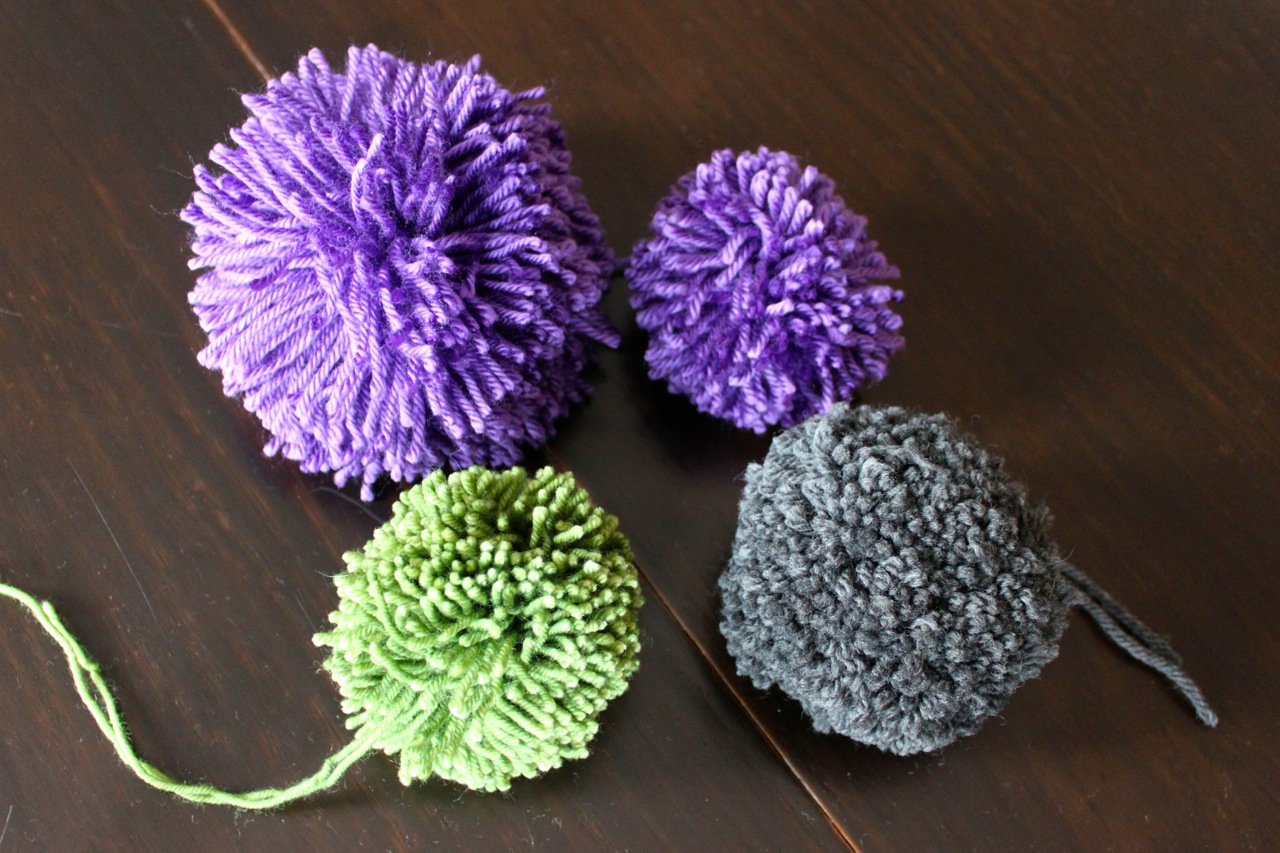
My extra-large pom-pom maker makes a pom-pom that is over 4 inches in diameter. The larger of the large set makes a pom-pom that is about 3.5 inches and the smaller makes a 2.5 inch pom-pom. I use the 3.5 inch one the most and I used it to make my Royal Slouch Hat and Fashion Forward Hat pom-poms.
![]()
Making a Pom-Pom
To get started, you need the pom-pom maker in the size you have chosen, enough yarn to make a pom-pom, and a pair of scissors. How do you know how much yarn is enough? Well, the amount of yarn you use can make a denser or looser pom-pom, whichever you prefer. I like a very dense and squishy pom-pom so I use a lot of yarn. My rule of thumb is that I need a ball of yarn that is about the same size, or slightly bigger, than the pom-pom I want to make.
I strongly suggest making a few practice pom-poms before using the yarn that you only have just enough of for the final project. Practice makes perfect and this really is the case with pom-pom makers. It takes a few tries to really get the hang of how much yarn to use, how thick to wind it, how tight to tie it, and so on.
For my Royal Slouch, I made a large (3.5 inch) pom-pom with the yarn I had left after finishing the hat.


To begin, open both sides of the pom-pom maker as shown above. Then begin winding the yarn around both arms of the maker. Wind it fairly tightly and wind a lot of it.
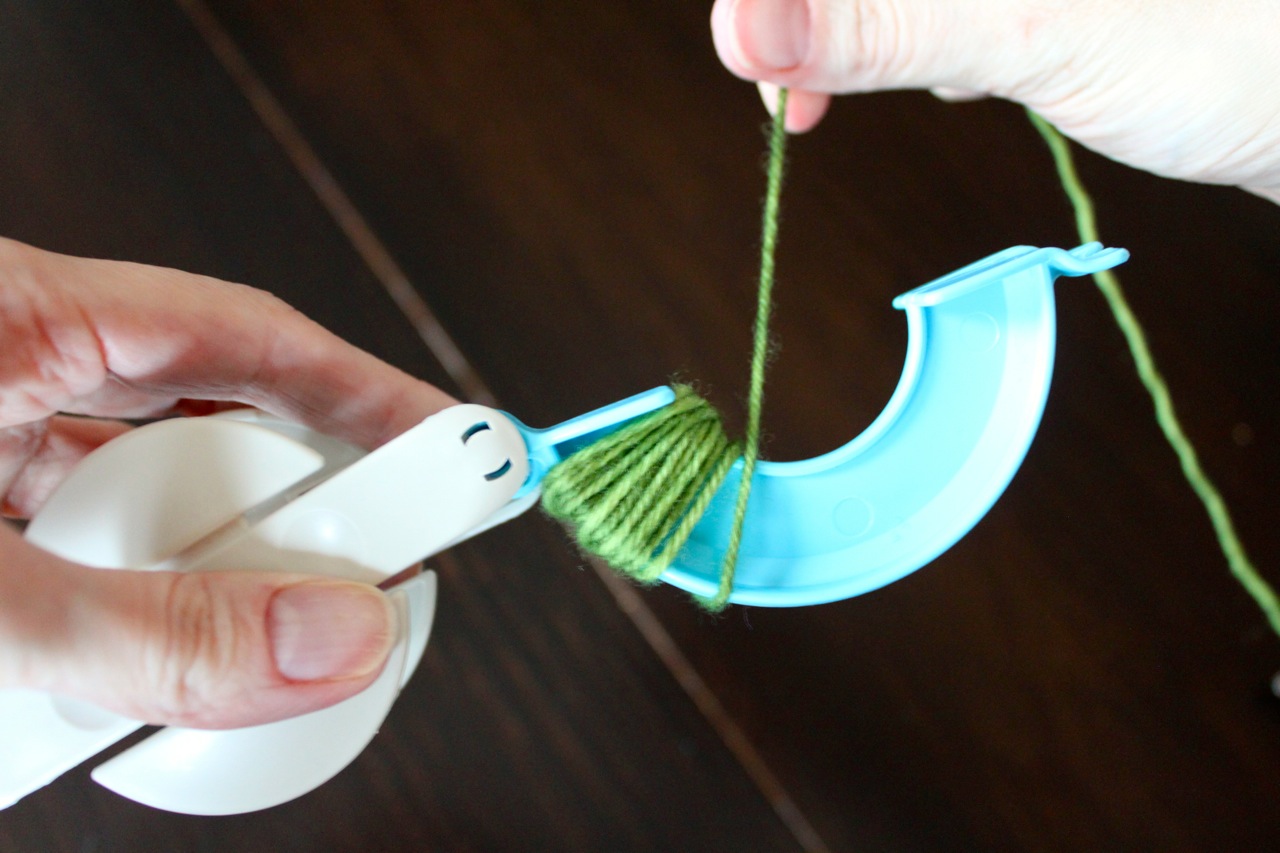
Keep winding, making it nice and thick, especially if you want a dense, squishy pom-pom. Very important: Set aside a piece of this yarn, about 10-12 inches long, for tying the pom-pom later on.
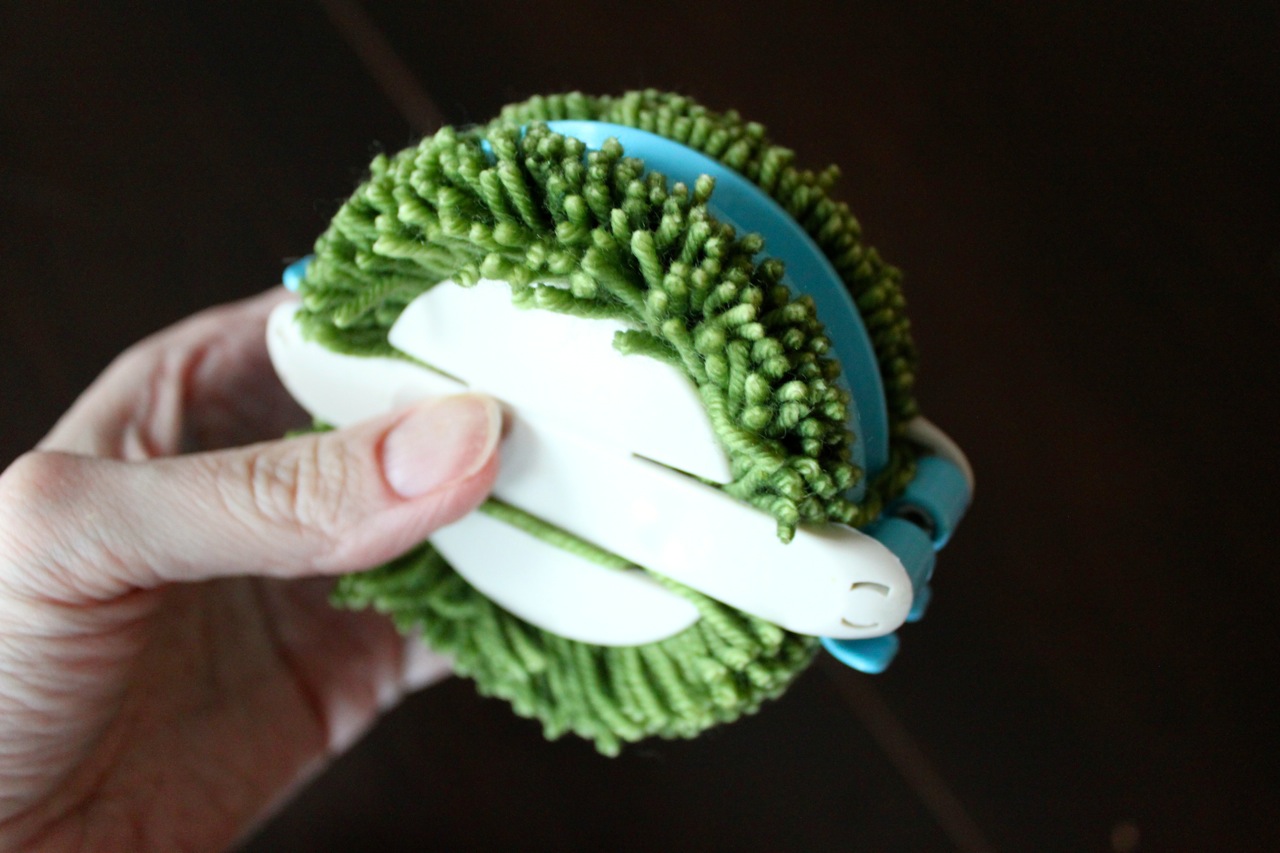
When the yarn is all wound, close the arms of the pom-pom maker.
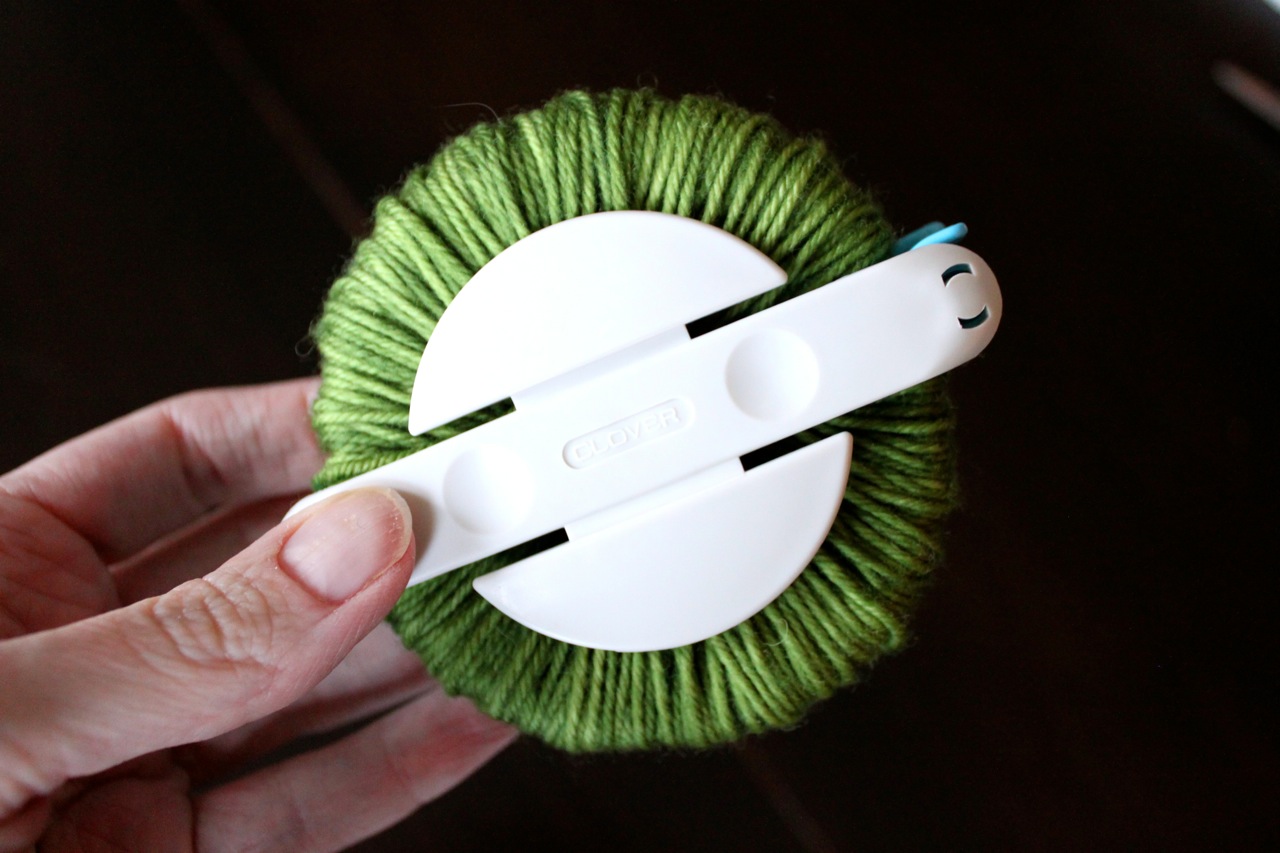
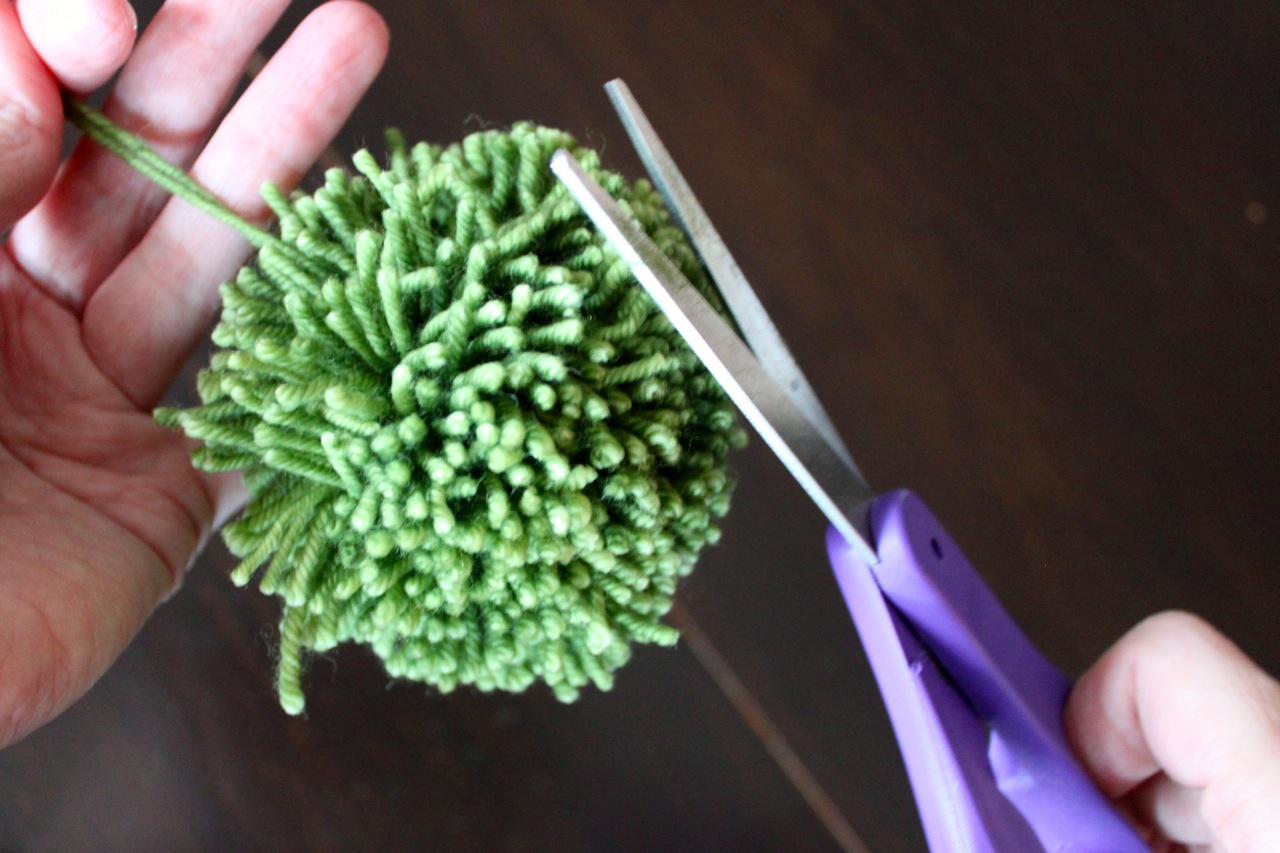
Now for the fun part! Take a deep breath, hold the pom pom maker tightly, and begin cutting.
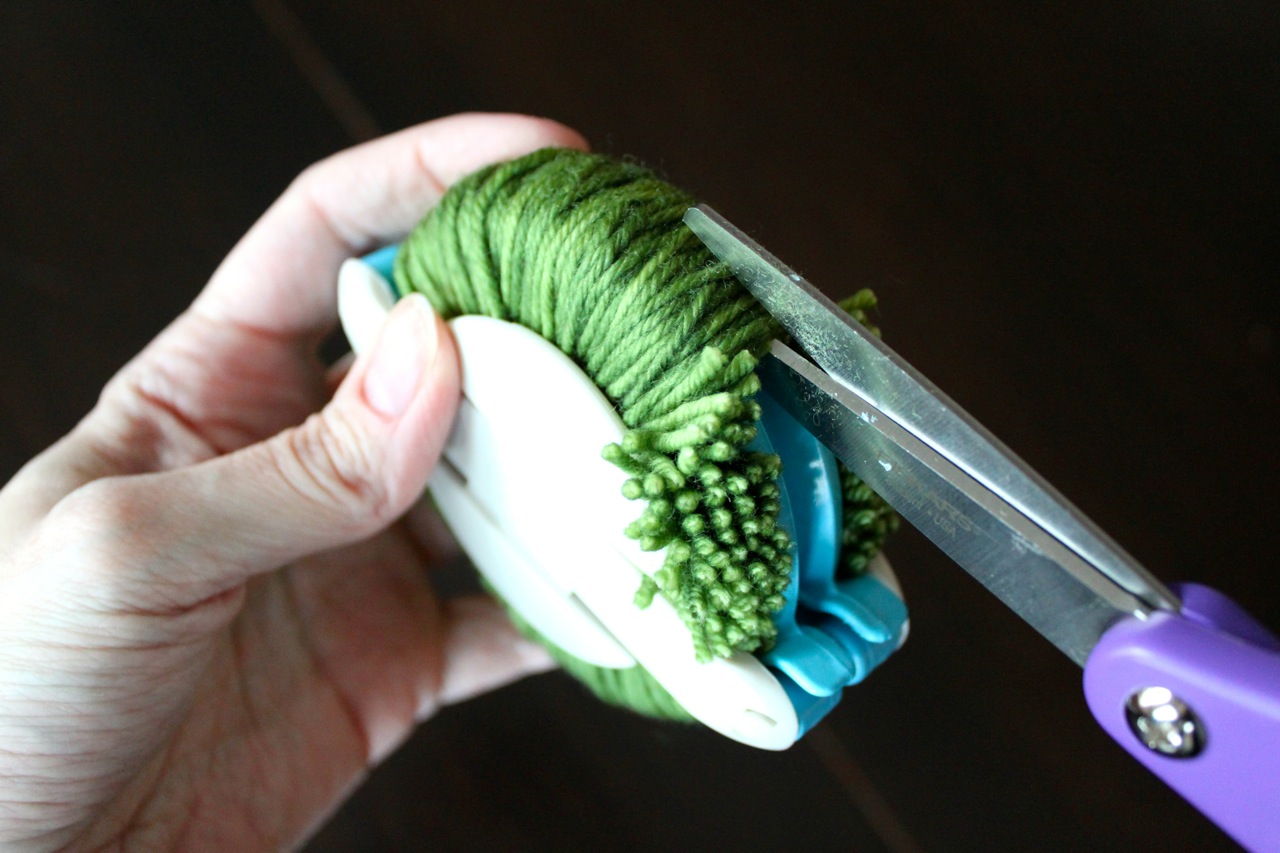
Cut all the way around until it looks like this:
And now for the tricky part…. The pom-pom needs to be tied tightly together at the centre. Take the piece of yarn that was set aside earlier and wrap it around the centre of the pom-pom maker. Pull it really, really tight and tie it.


It is very important to tie tightly, otherwise you will end up with a thousand pieces of yarn scattered in your lap. Ask me how I know! Here is my secret to getting it really tight. Use at your own risk! I wiggle the two sides of the pom-pom maker just slightly apart so that the yarn can get right down there into the middle. Don’t pull them all the way apart!
Once you have tied the pom-pom, you will open the arms and take the two sides apart.


And, voila! We have a pom-pom. Trim any long ends. Don’t cut the piece that was used to tie it together! That will be used to attach the pom-pom onto the hat.
Attaching the Pom-Pom
Attach the pom pom by threading the long pieces of yarn through the top of the hat with a tapestry needle.


Tie them tightly with a double knot on the wrong side. Then, with the tapestry needle, thread each piece back through the top of the hat and straight through the pom pom. Trim it. This adds two more pieces of yarn to the pom pom!

Experiment with different pom-pom maker sizes, different yarn weights, and different amounts of yarn. There are endless pom-pom possibilities!
Discover more from Leah Michelle Designs
Subscribe to get the latest posts sent to your email.