
 Michelle
The Sugar Plum Cowl is a simple one-skein knitting project that lets a beautiful yarn take centre stage. Worked in the round with a 2×2 ribbing and stockinette stitch, it’s an easy and relaxing knit with no increasing or decreasing.
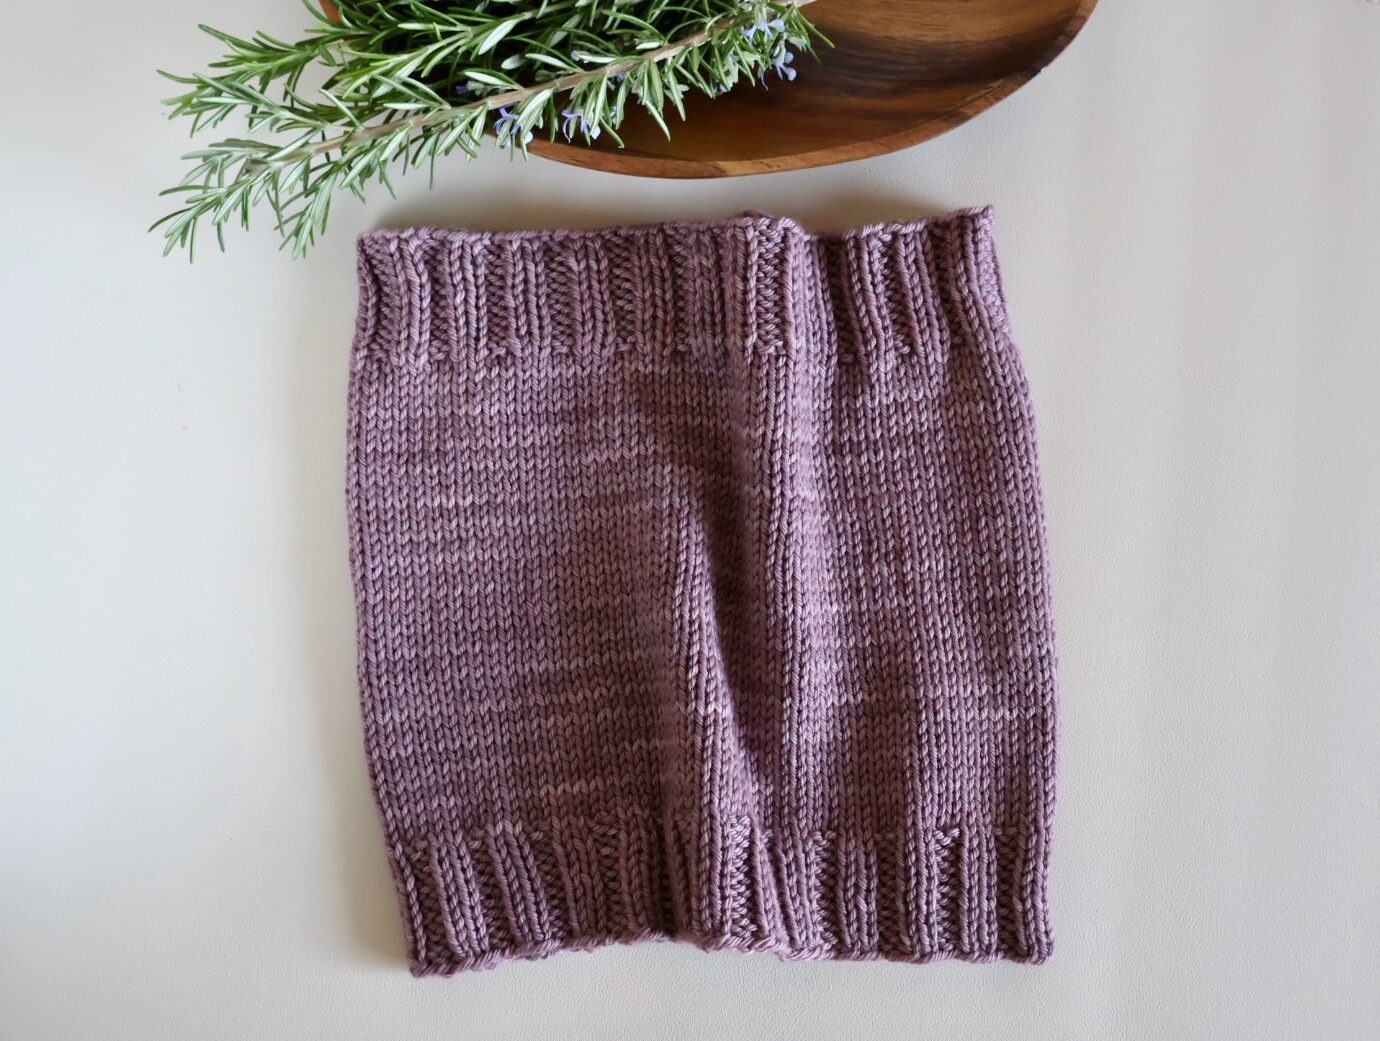
Originally published in 2015, the Sugar Plum Cowl has become one of my most popular free patterns. I recently returned to this little cowl and knit the above new sample. I was reminded just how satisfying a simple, wearable project can be.
Then I went on to knit three more versions! You can see them here: The Sugar Plum Trio: An Old Favourite Revisited.

Pattern At A Glance
- Skill Level: Easy
- Yarn: Worsted weight, one skein, or approximately 200 yd [182 m]
- Needles: US size 8 [5.0 mm], 16″ [40 cm] circular needle
- Gauge: 18 sts and 26 rnds = 4″ [10 cm] in stockinette stitch, in the rnd, after blocking
- Finished Size: Approx 22 inches [56 cm] circumference and 10 inches [25 cm] tall
- Construction: Worked seamlessly in the round
- Techniques: Knitting in the round, knit, purl, 2×2 ribbing
Choosing Yarn For Your Sugar Plum Cowl
The Sugar Plum Cowl is a perfect project for a special skein of worsted-weight yarn. Because most of the cowl is worked in simple stockinette stitch, the yarn gets to do the work. This makes the pattern especially well suited to tonal, variegated, and hand-dyed yarns.
The original Sugar Plum Cowl was knit in Madelinetosh Tosh Vintage, but you certainly don’t need to use the original yarn. My recent Sugar Plum re-knit was done in Sweetgeorgia Merino Worsted in the Portobello colourway.
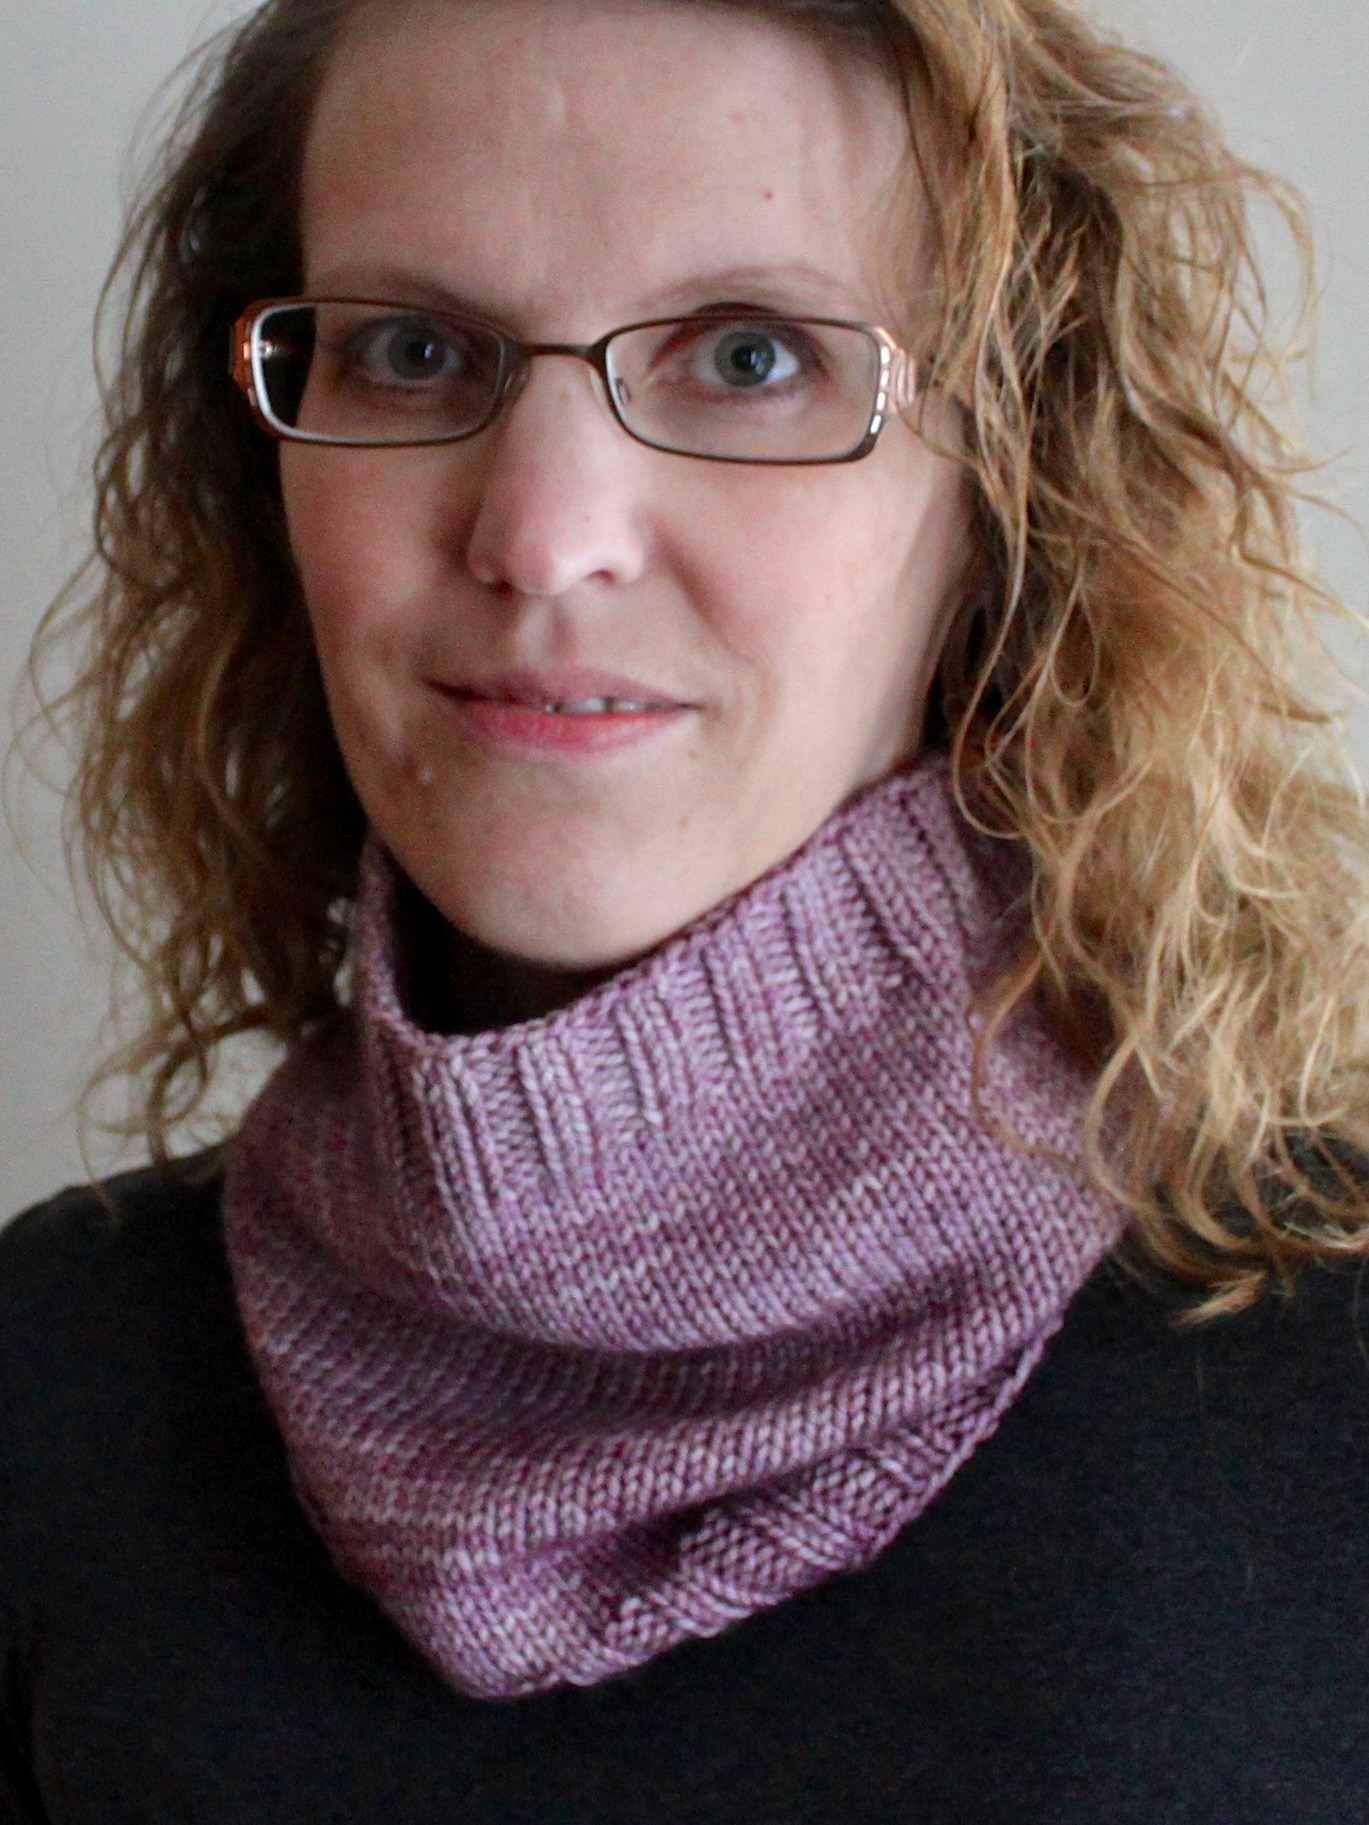
I knitted the first Sugar Plum Cowl in 2015 using Madelinetosh Tosh Vintage in the aptly named Sugar Plum colourway. Although I no longer have that original sample, I still have a few photographs from those early days.
It’s lovely to revisit this simple design more than a decade later and see how beautifully it works in different yarns.
Choose a worsted-weight yarn you love, whether that’s a beautiful hand-dyed skein or just something already waiting in your stash.
When choosing your yarn, check both the yardage and your gauge rather than relying on skein weight alone. Approximately 200 yards or 182 metres is a good starting point.
Knitting The Sugar Plum Cowl
The Sugar Plum Cowl is worked seamlessly in the round from the bottom up. Simple 2×2 ribbing creates a neat, stretchy edge, followed by an easy stockinette section and a matching ribbed edge at the top.
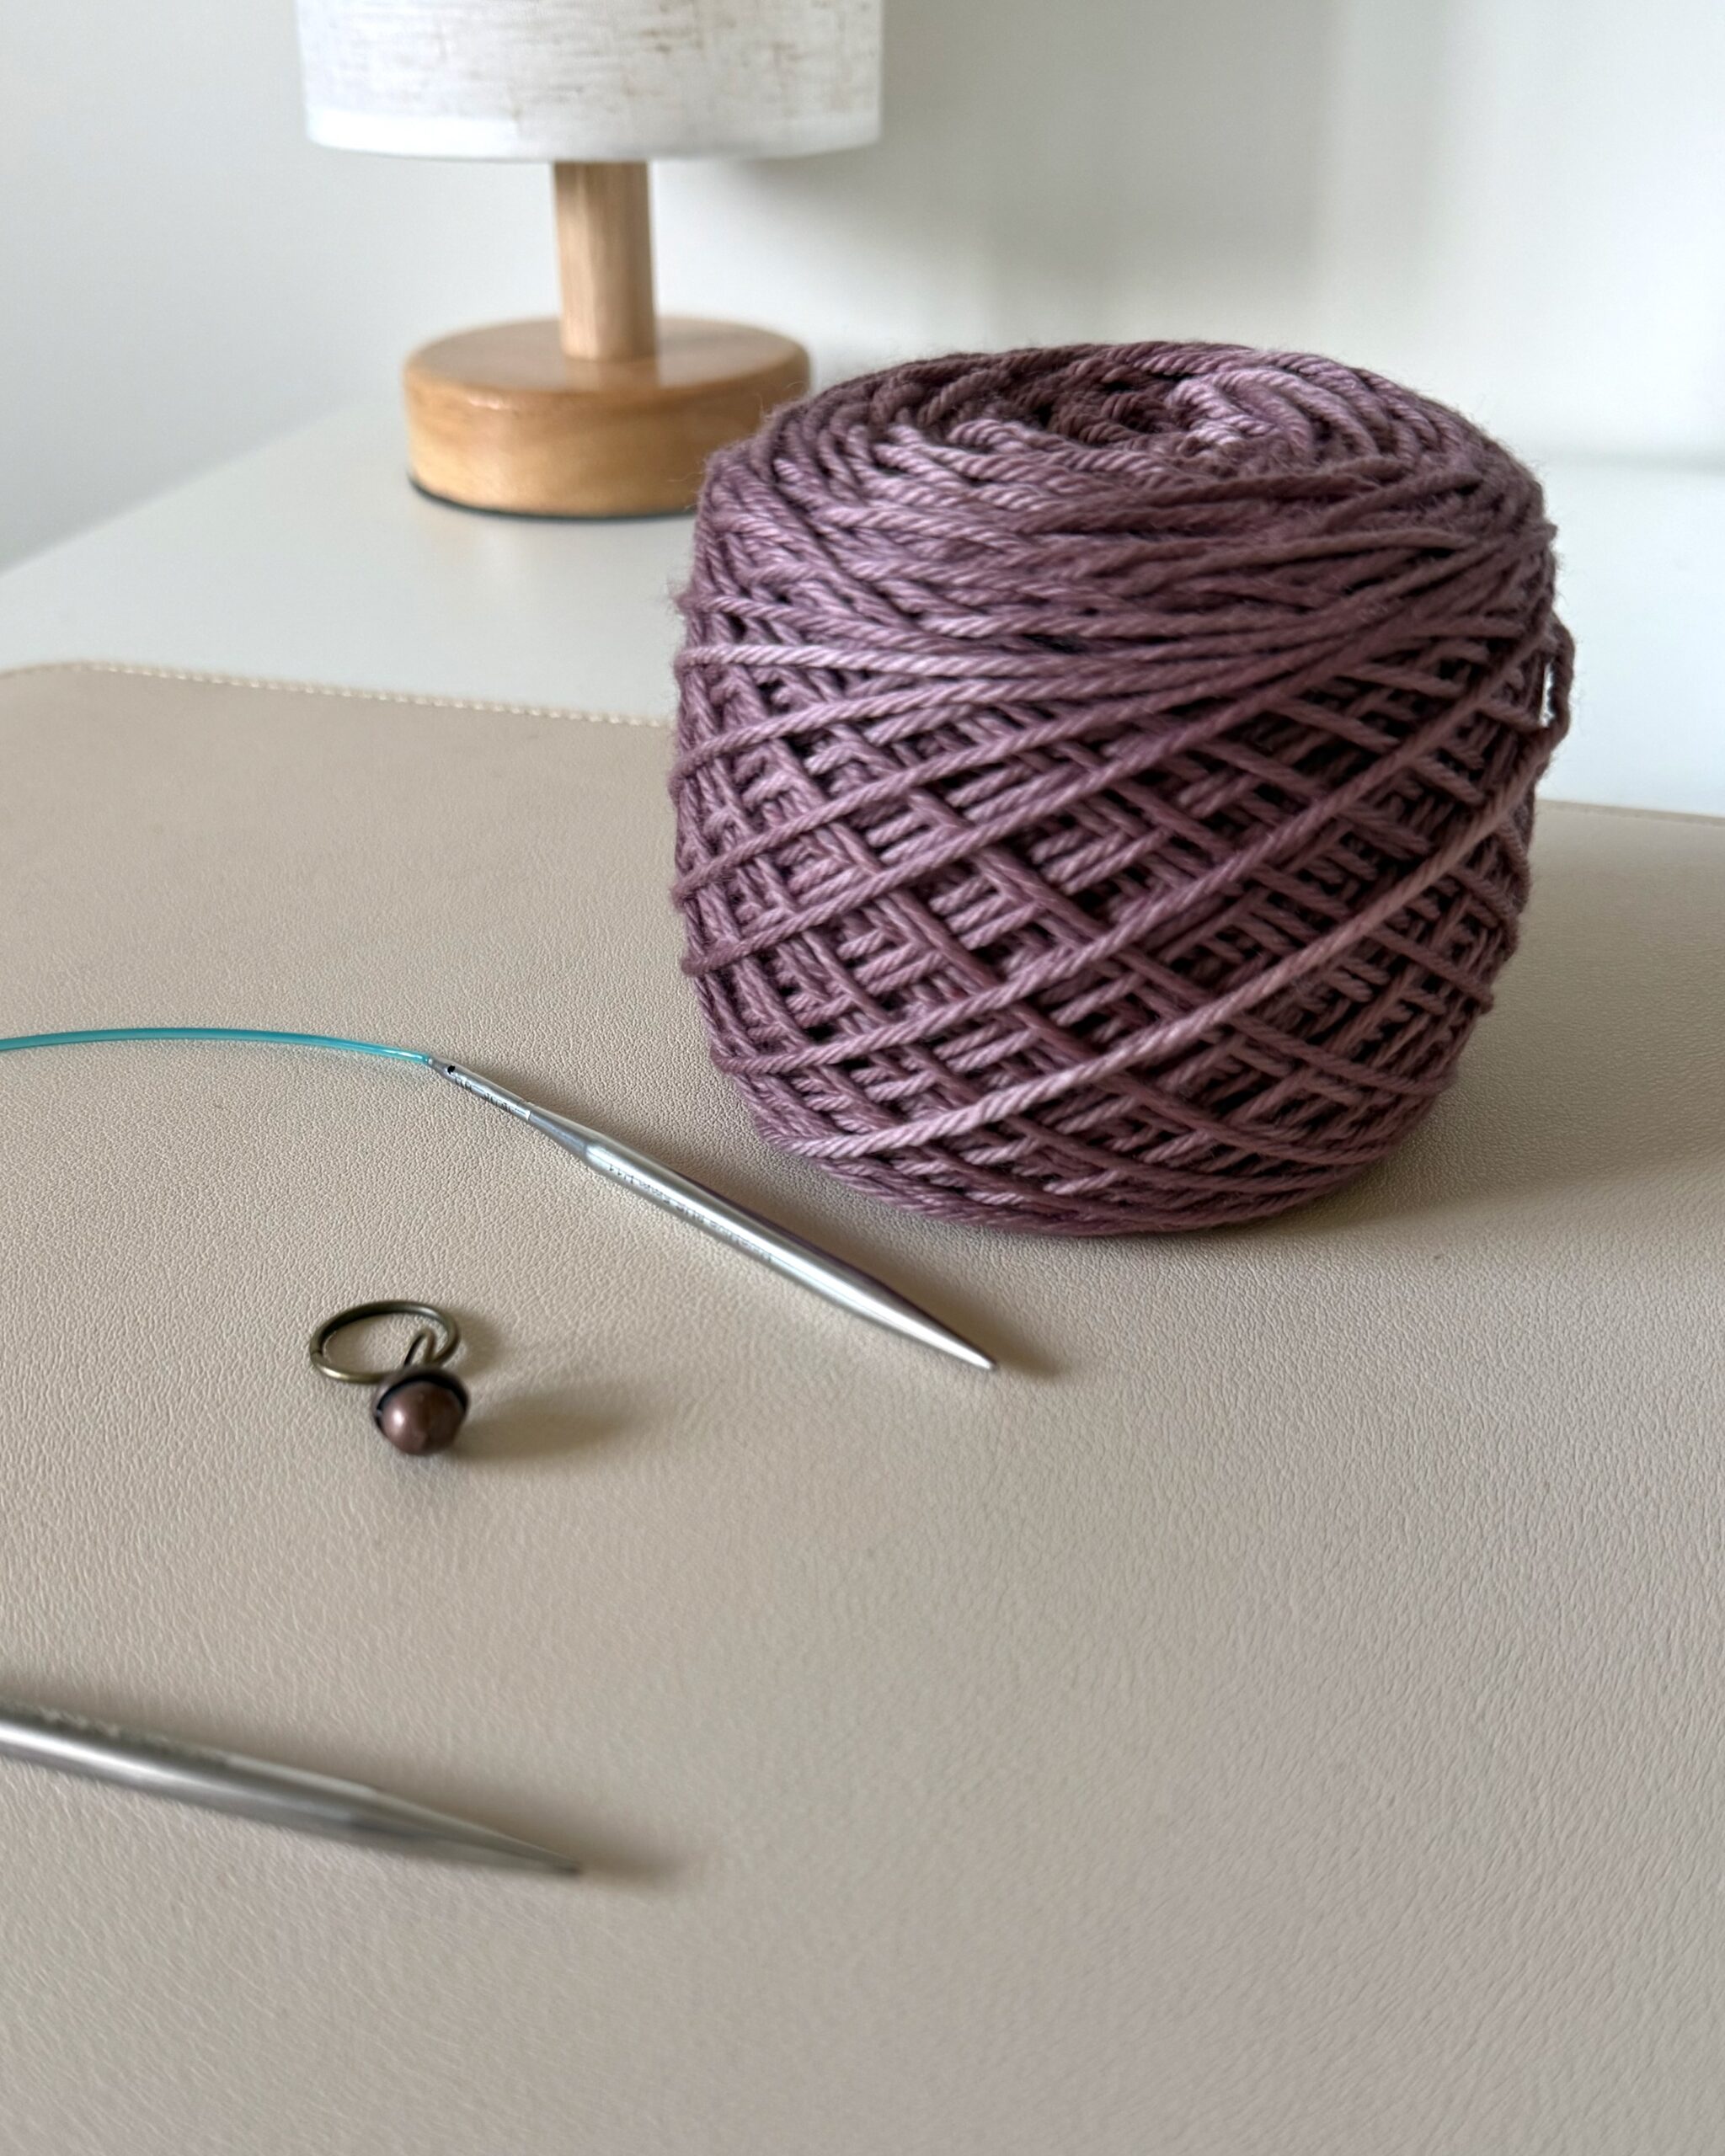
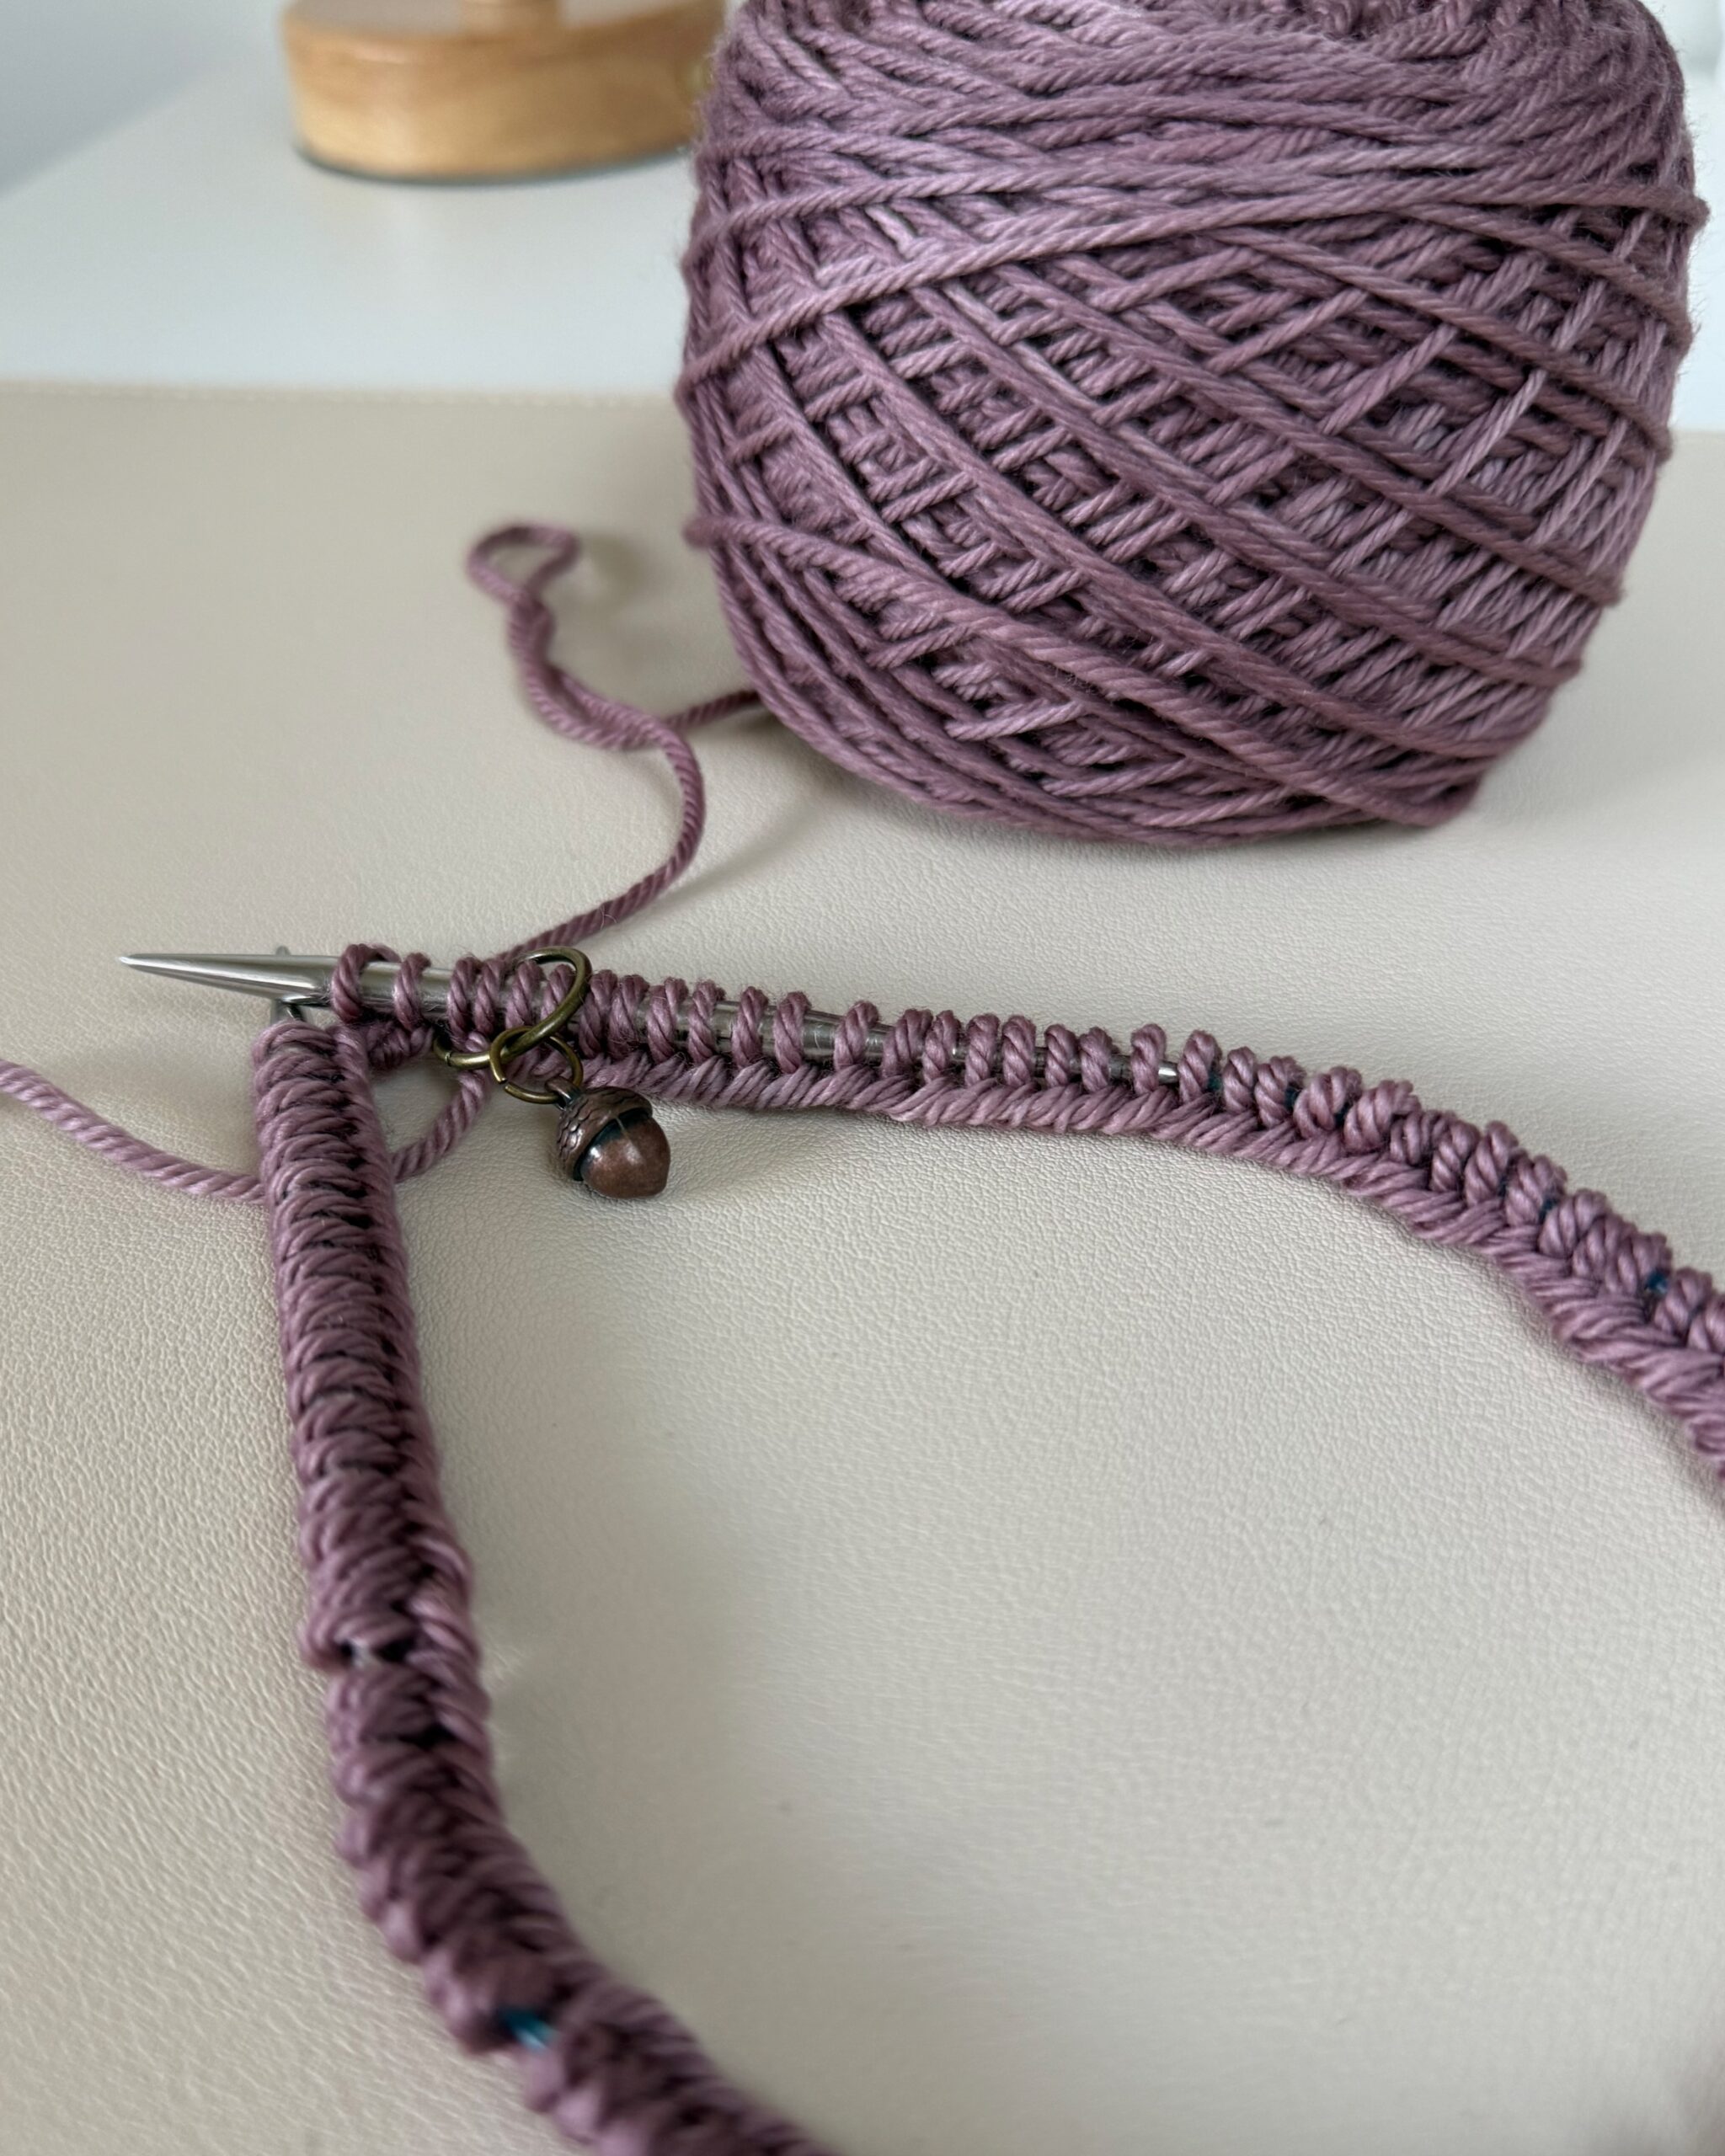
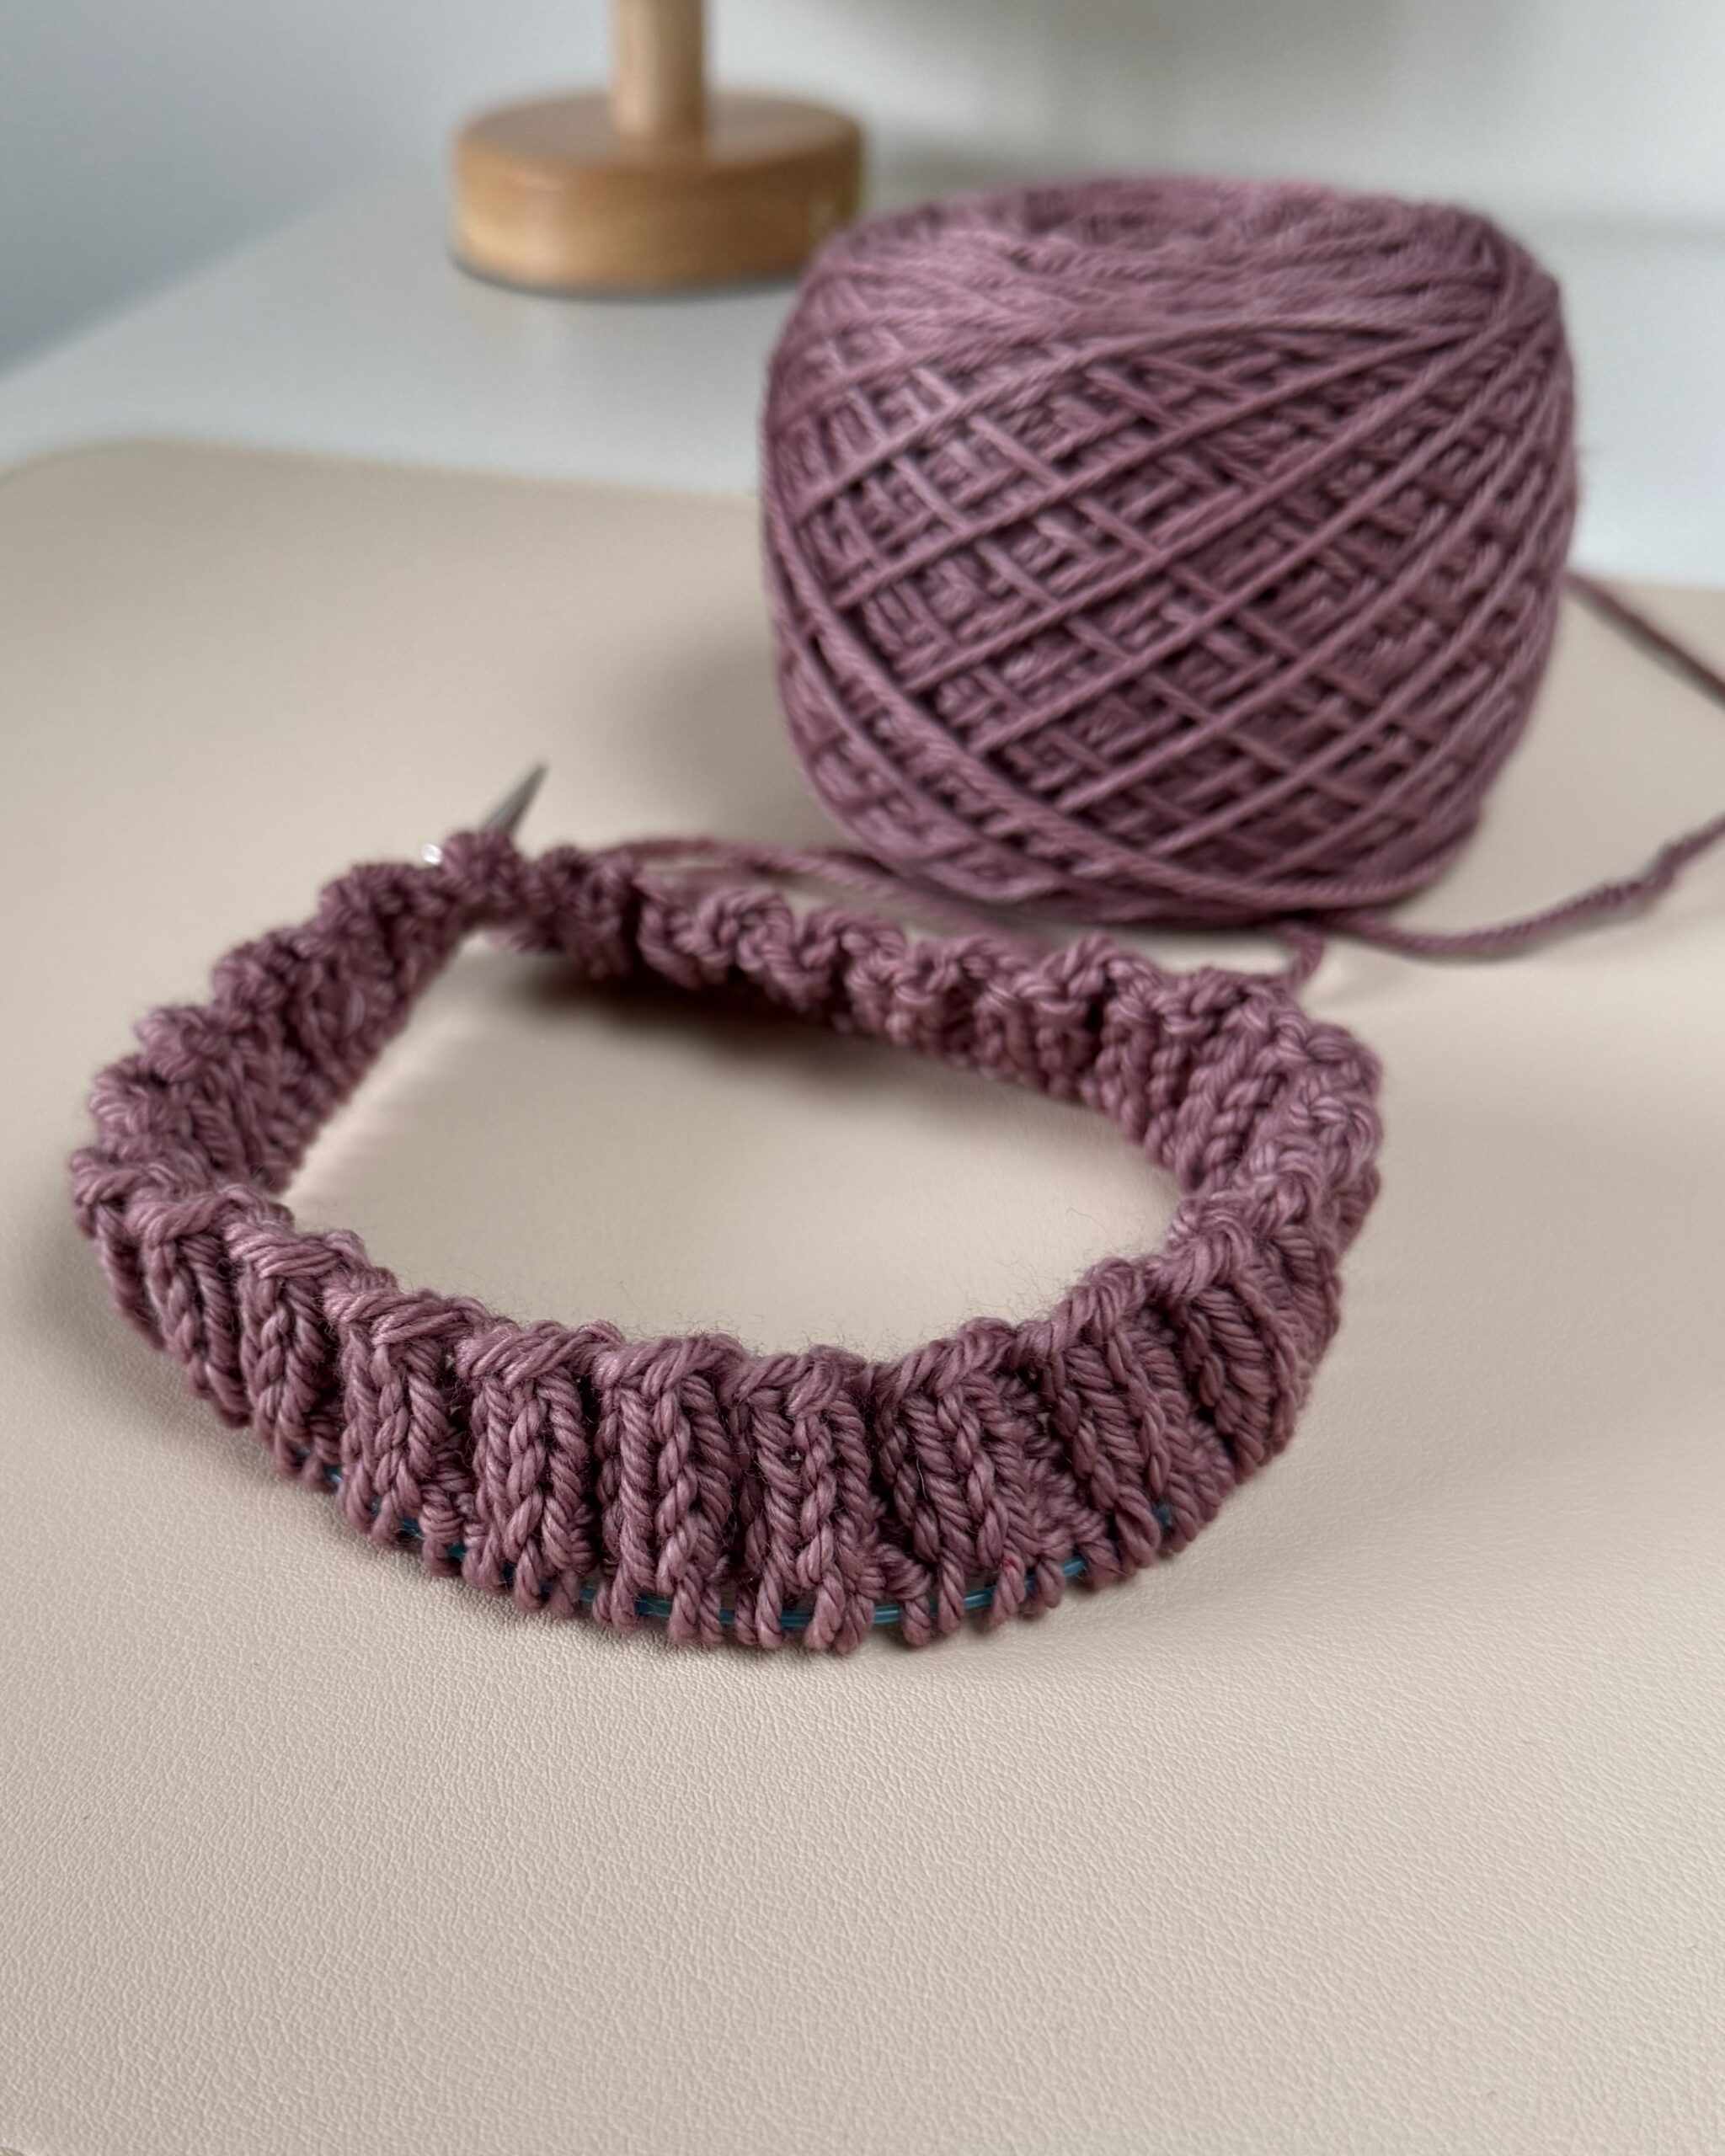
When joining to work in the round, take a moment to make sure your cast-on stitches aren’t twisted. For neat ribbing, keep an eye on your tension as you move between knit and purl stitches.
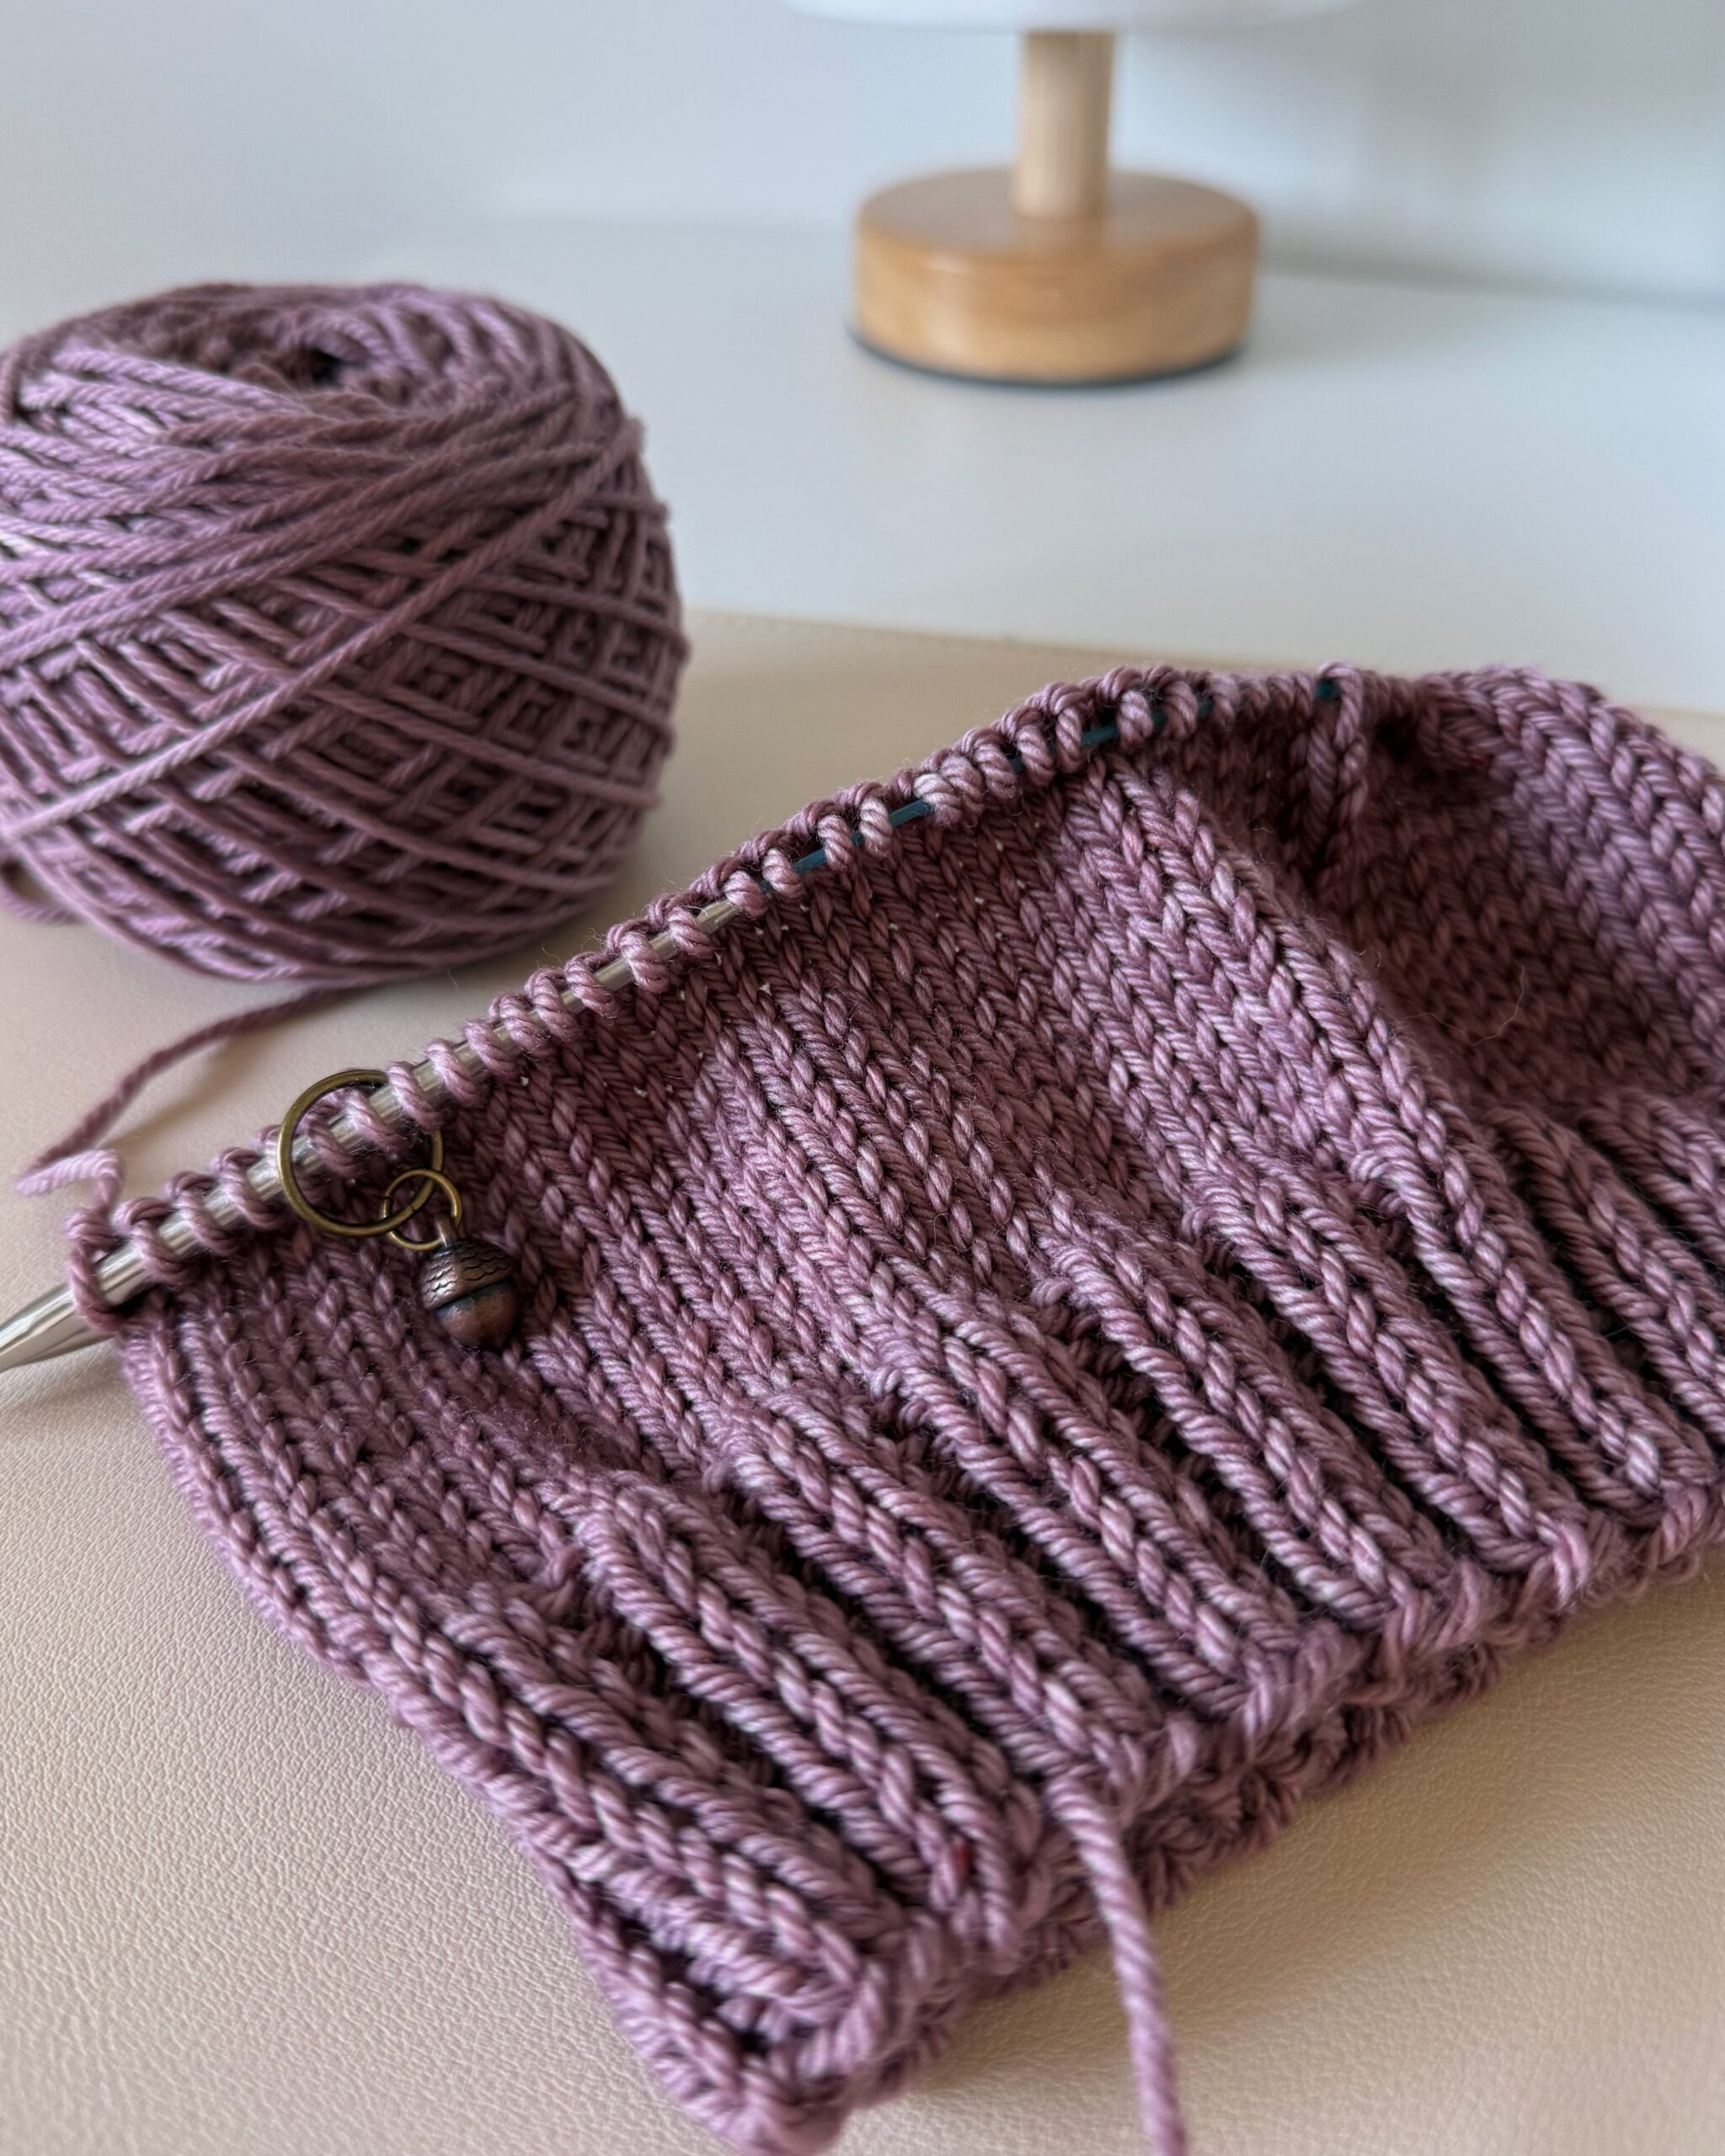
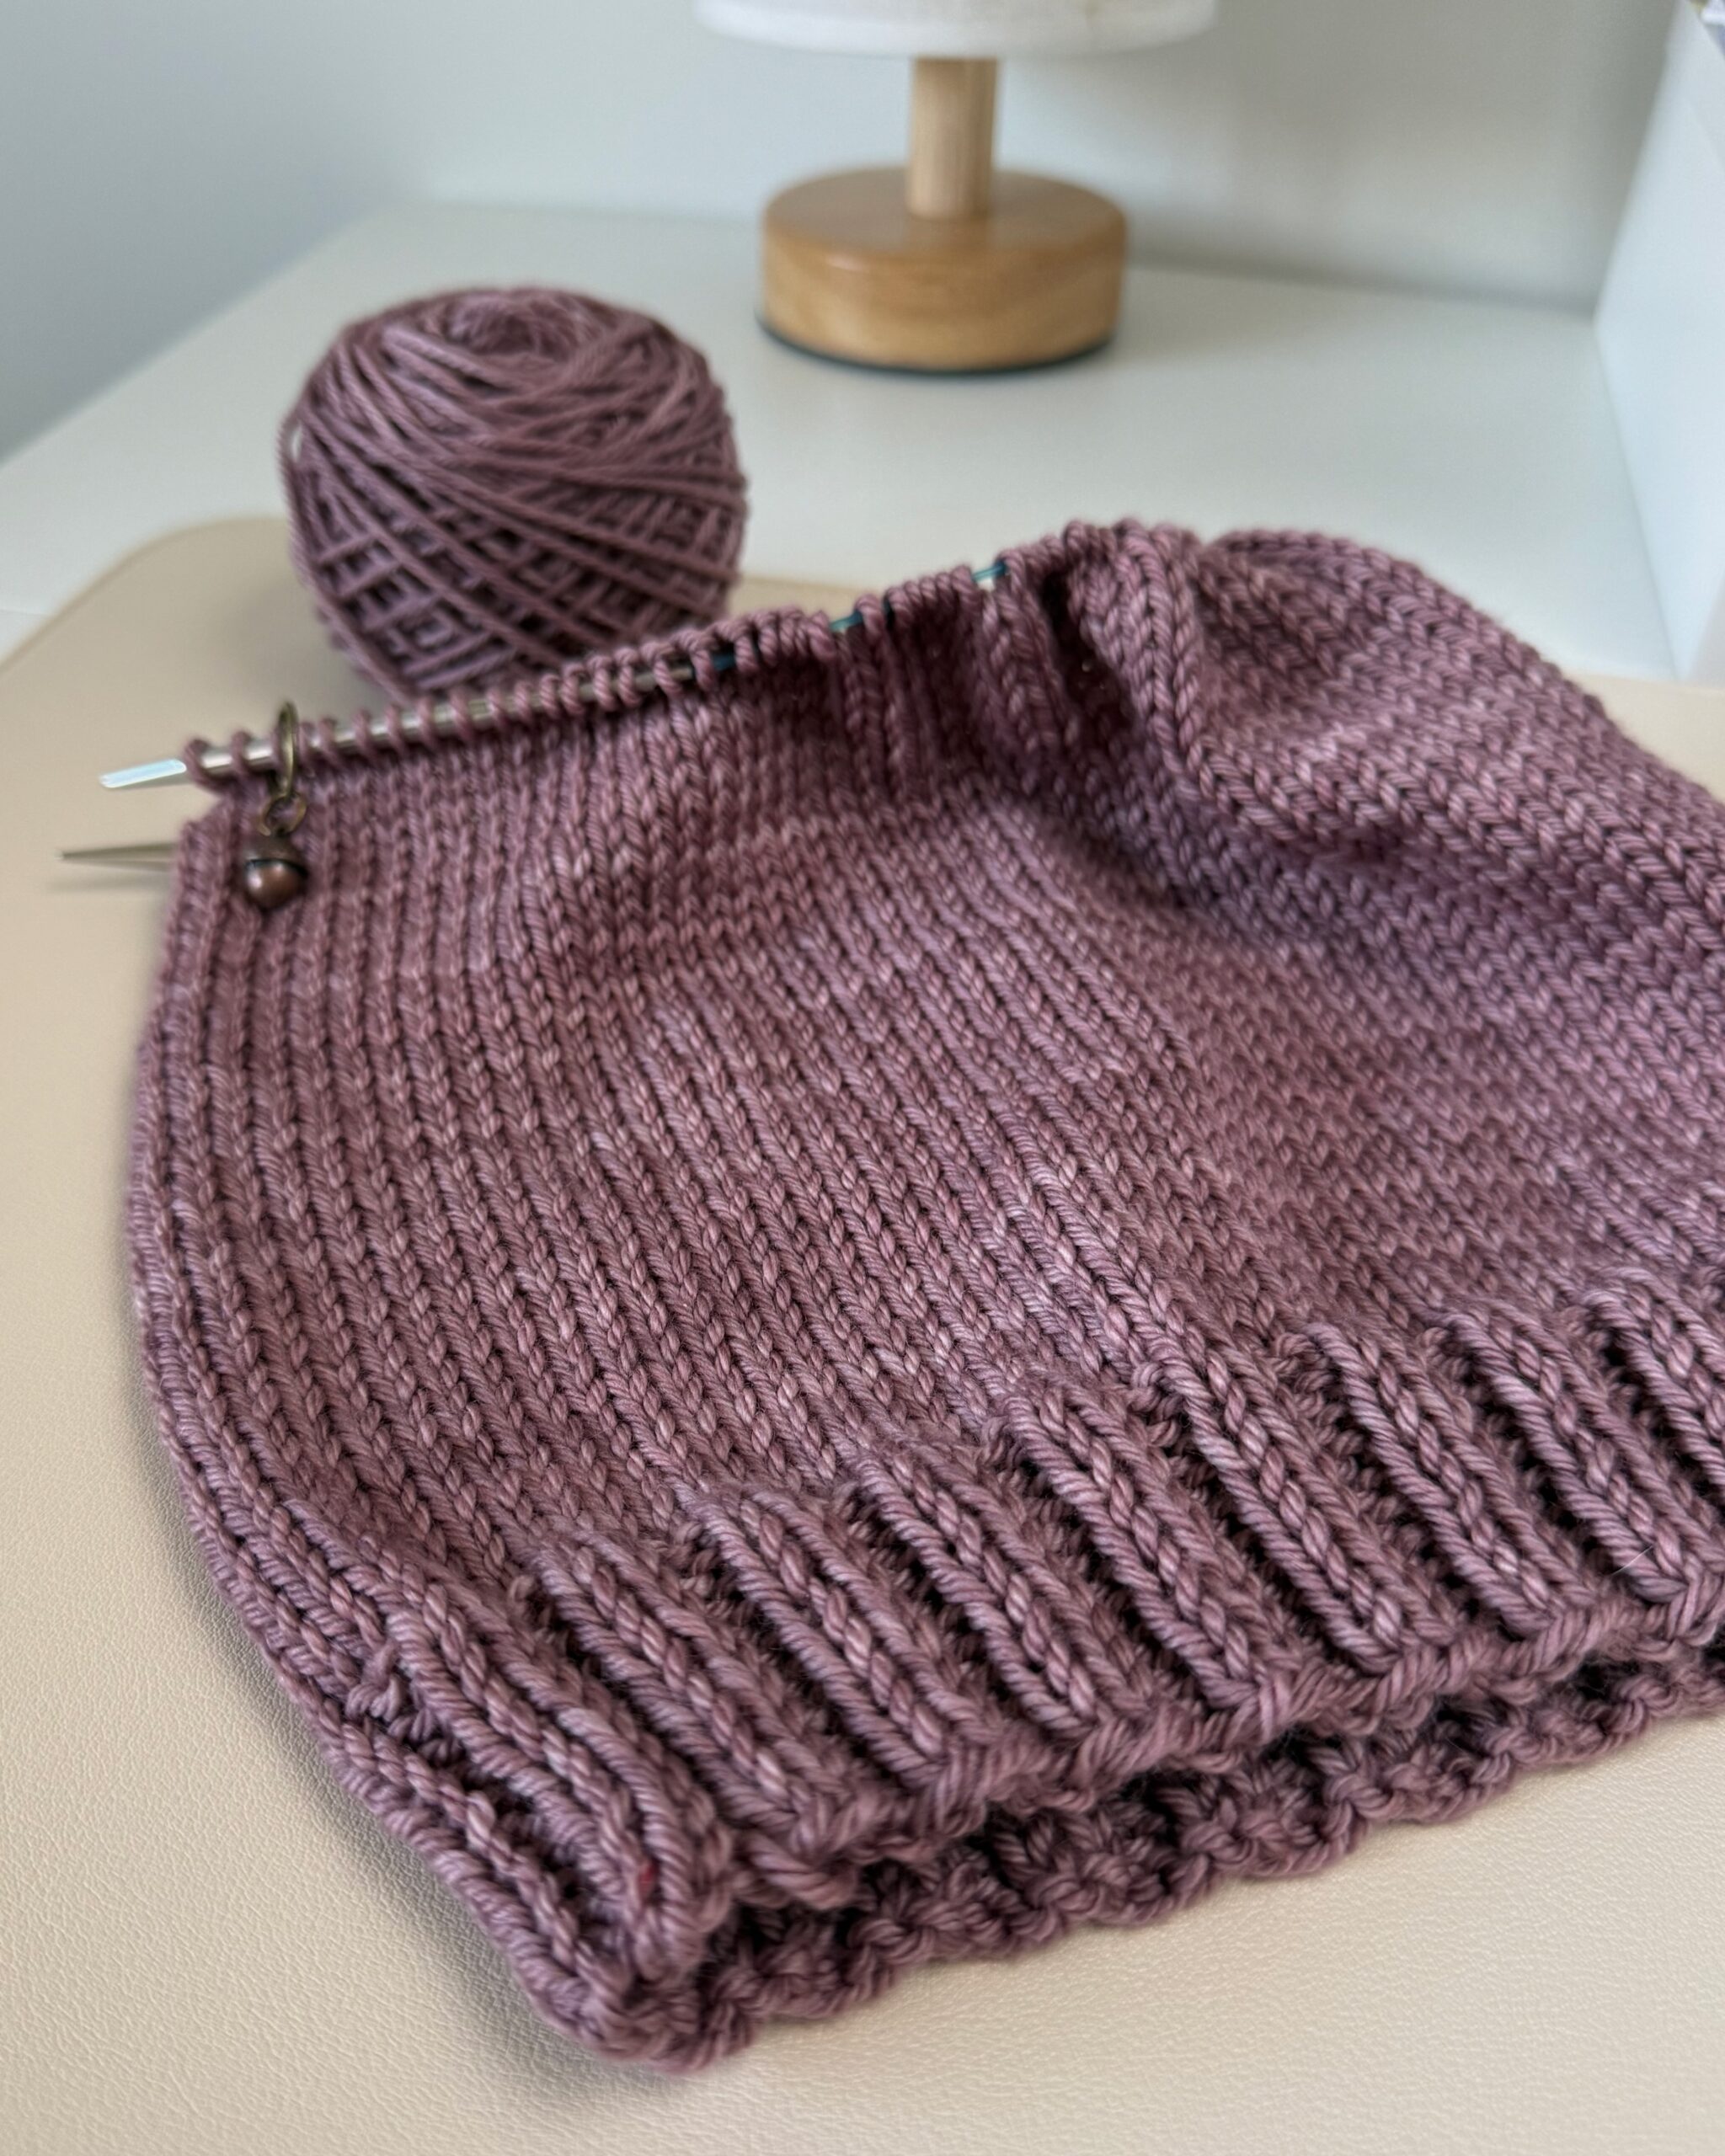
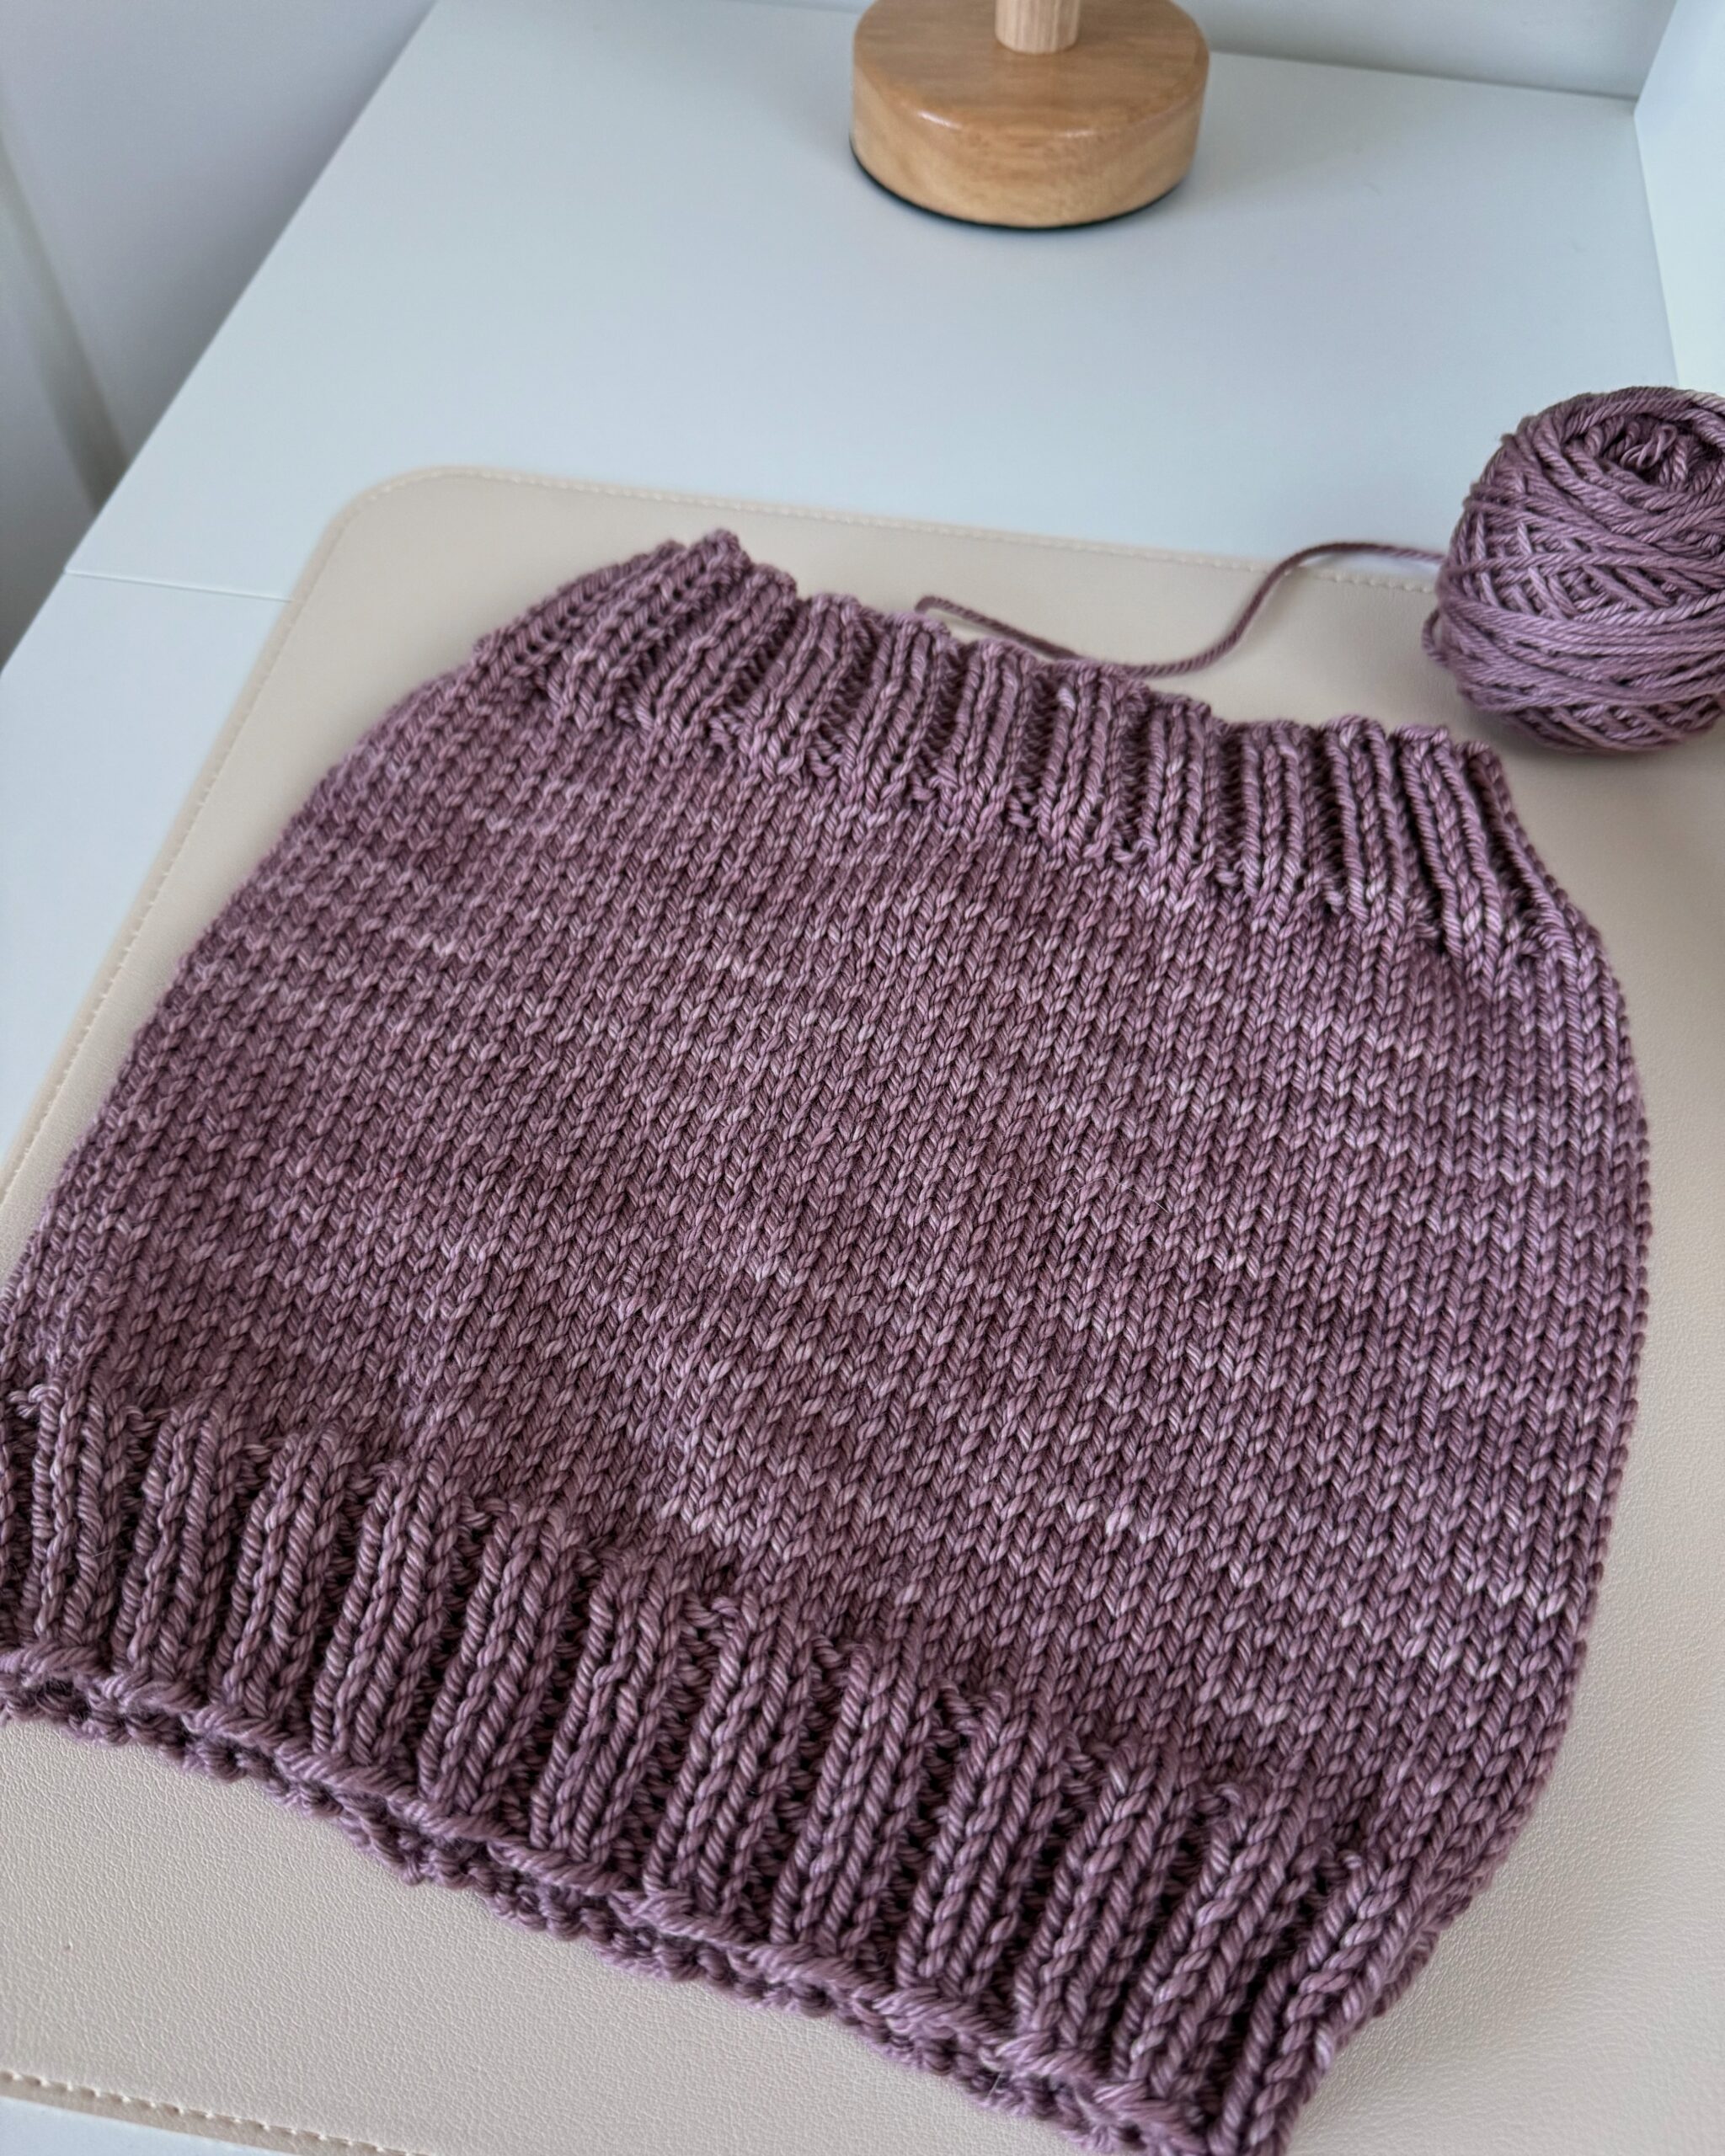
When it’s time to bind off, bind off loosely in pattern by knitting the knit stitches and purling the purl stitches. This will help the upper edge remain stretchy and comfortable to wear.
And that’s it! A simple combination of ribbing and stockinette creates a soft and versatile cowl that’s easy to knit and lovely to wear.
Modifying Your Sugar Plum Cowl
The Sugar Plum Cowl is easy to customize if you’d like to change the finished circumference. Because the 2×2 ribbing is worked over a multiple of 4 stitches, any adjusted cast-on number must be a multiple of 4.
Use your gauge to estimate the number of stitches needed for your preferred circumference. At the pattern gauge of 18 stitches per 4 inch (10 cm), adding approximately 4 inches (10 cm) to the circumference, for example, requires about 18 additional stitches. Adjust that number to the nearest multiple of 4 for the ribbing.
Keep in mind that a larger cowl will require more yarn. If you’d like to make a long cowl that can wrap twice around the neck, for example, plan on using more than one skein.
Finishing Your Sugar Plum Cowl
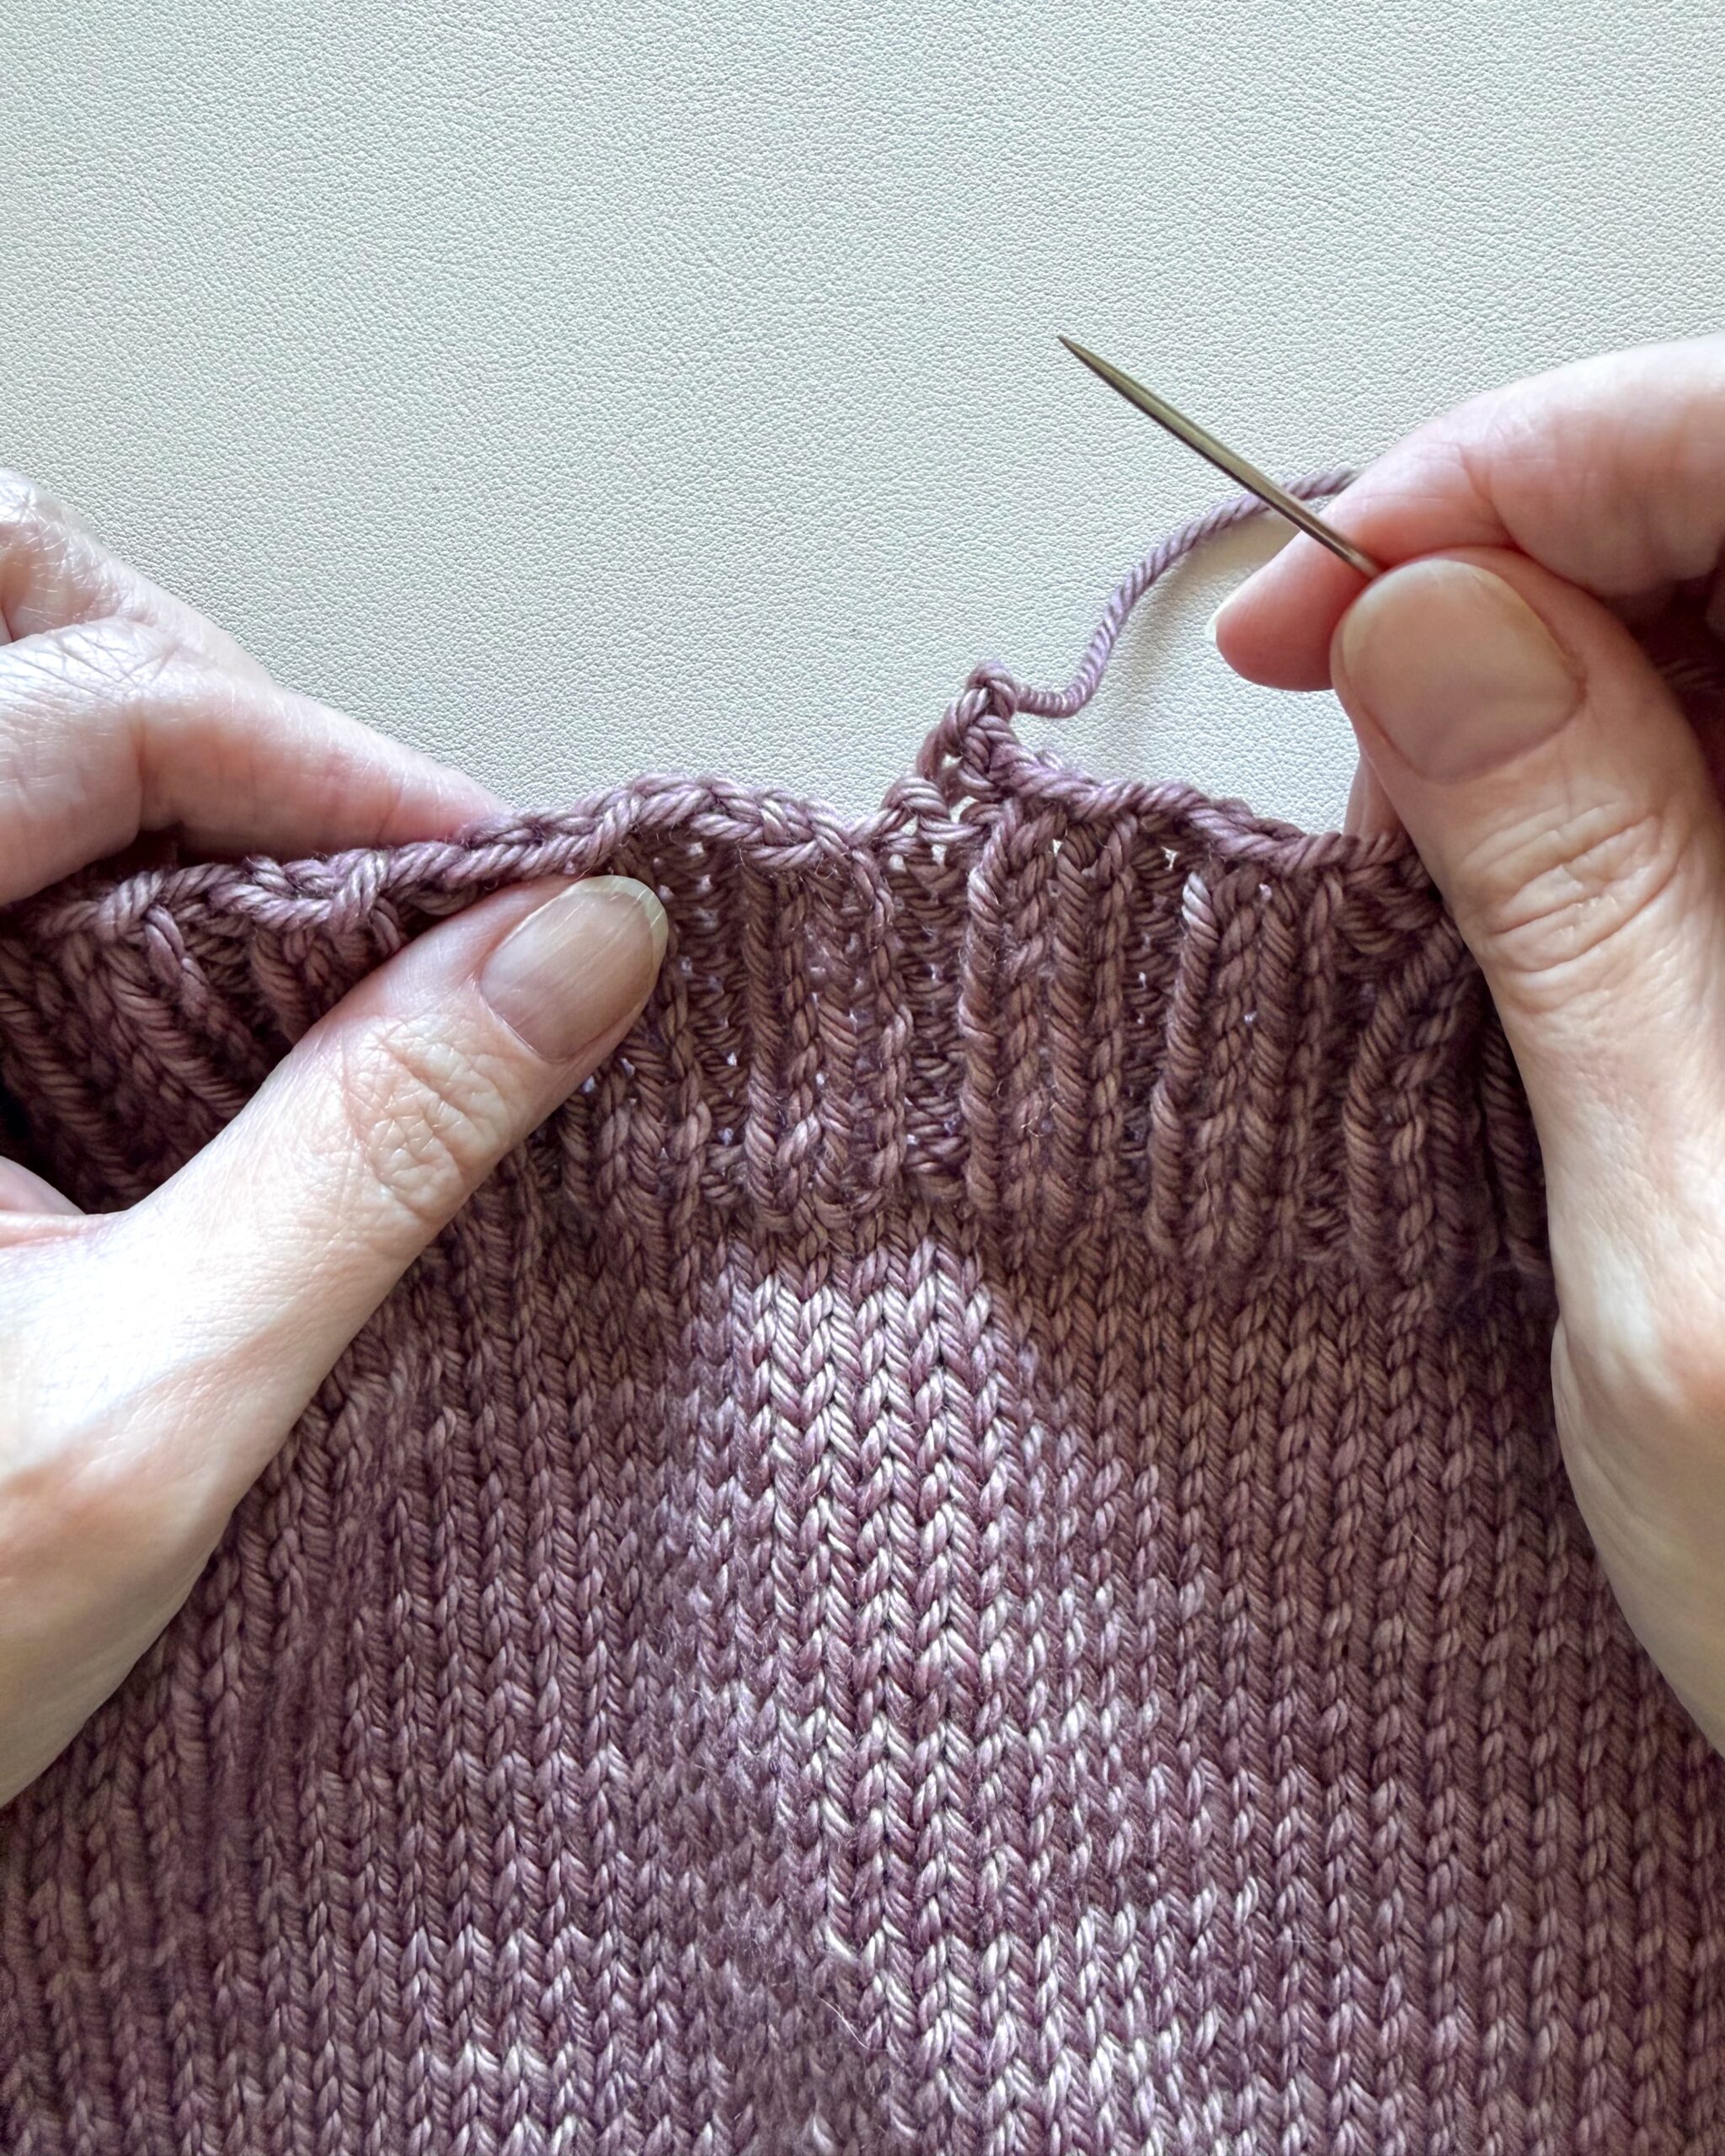
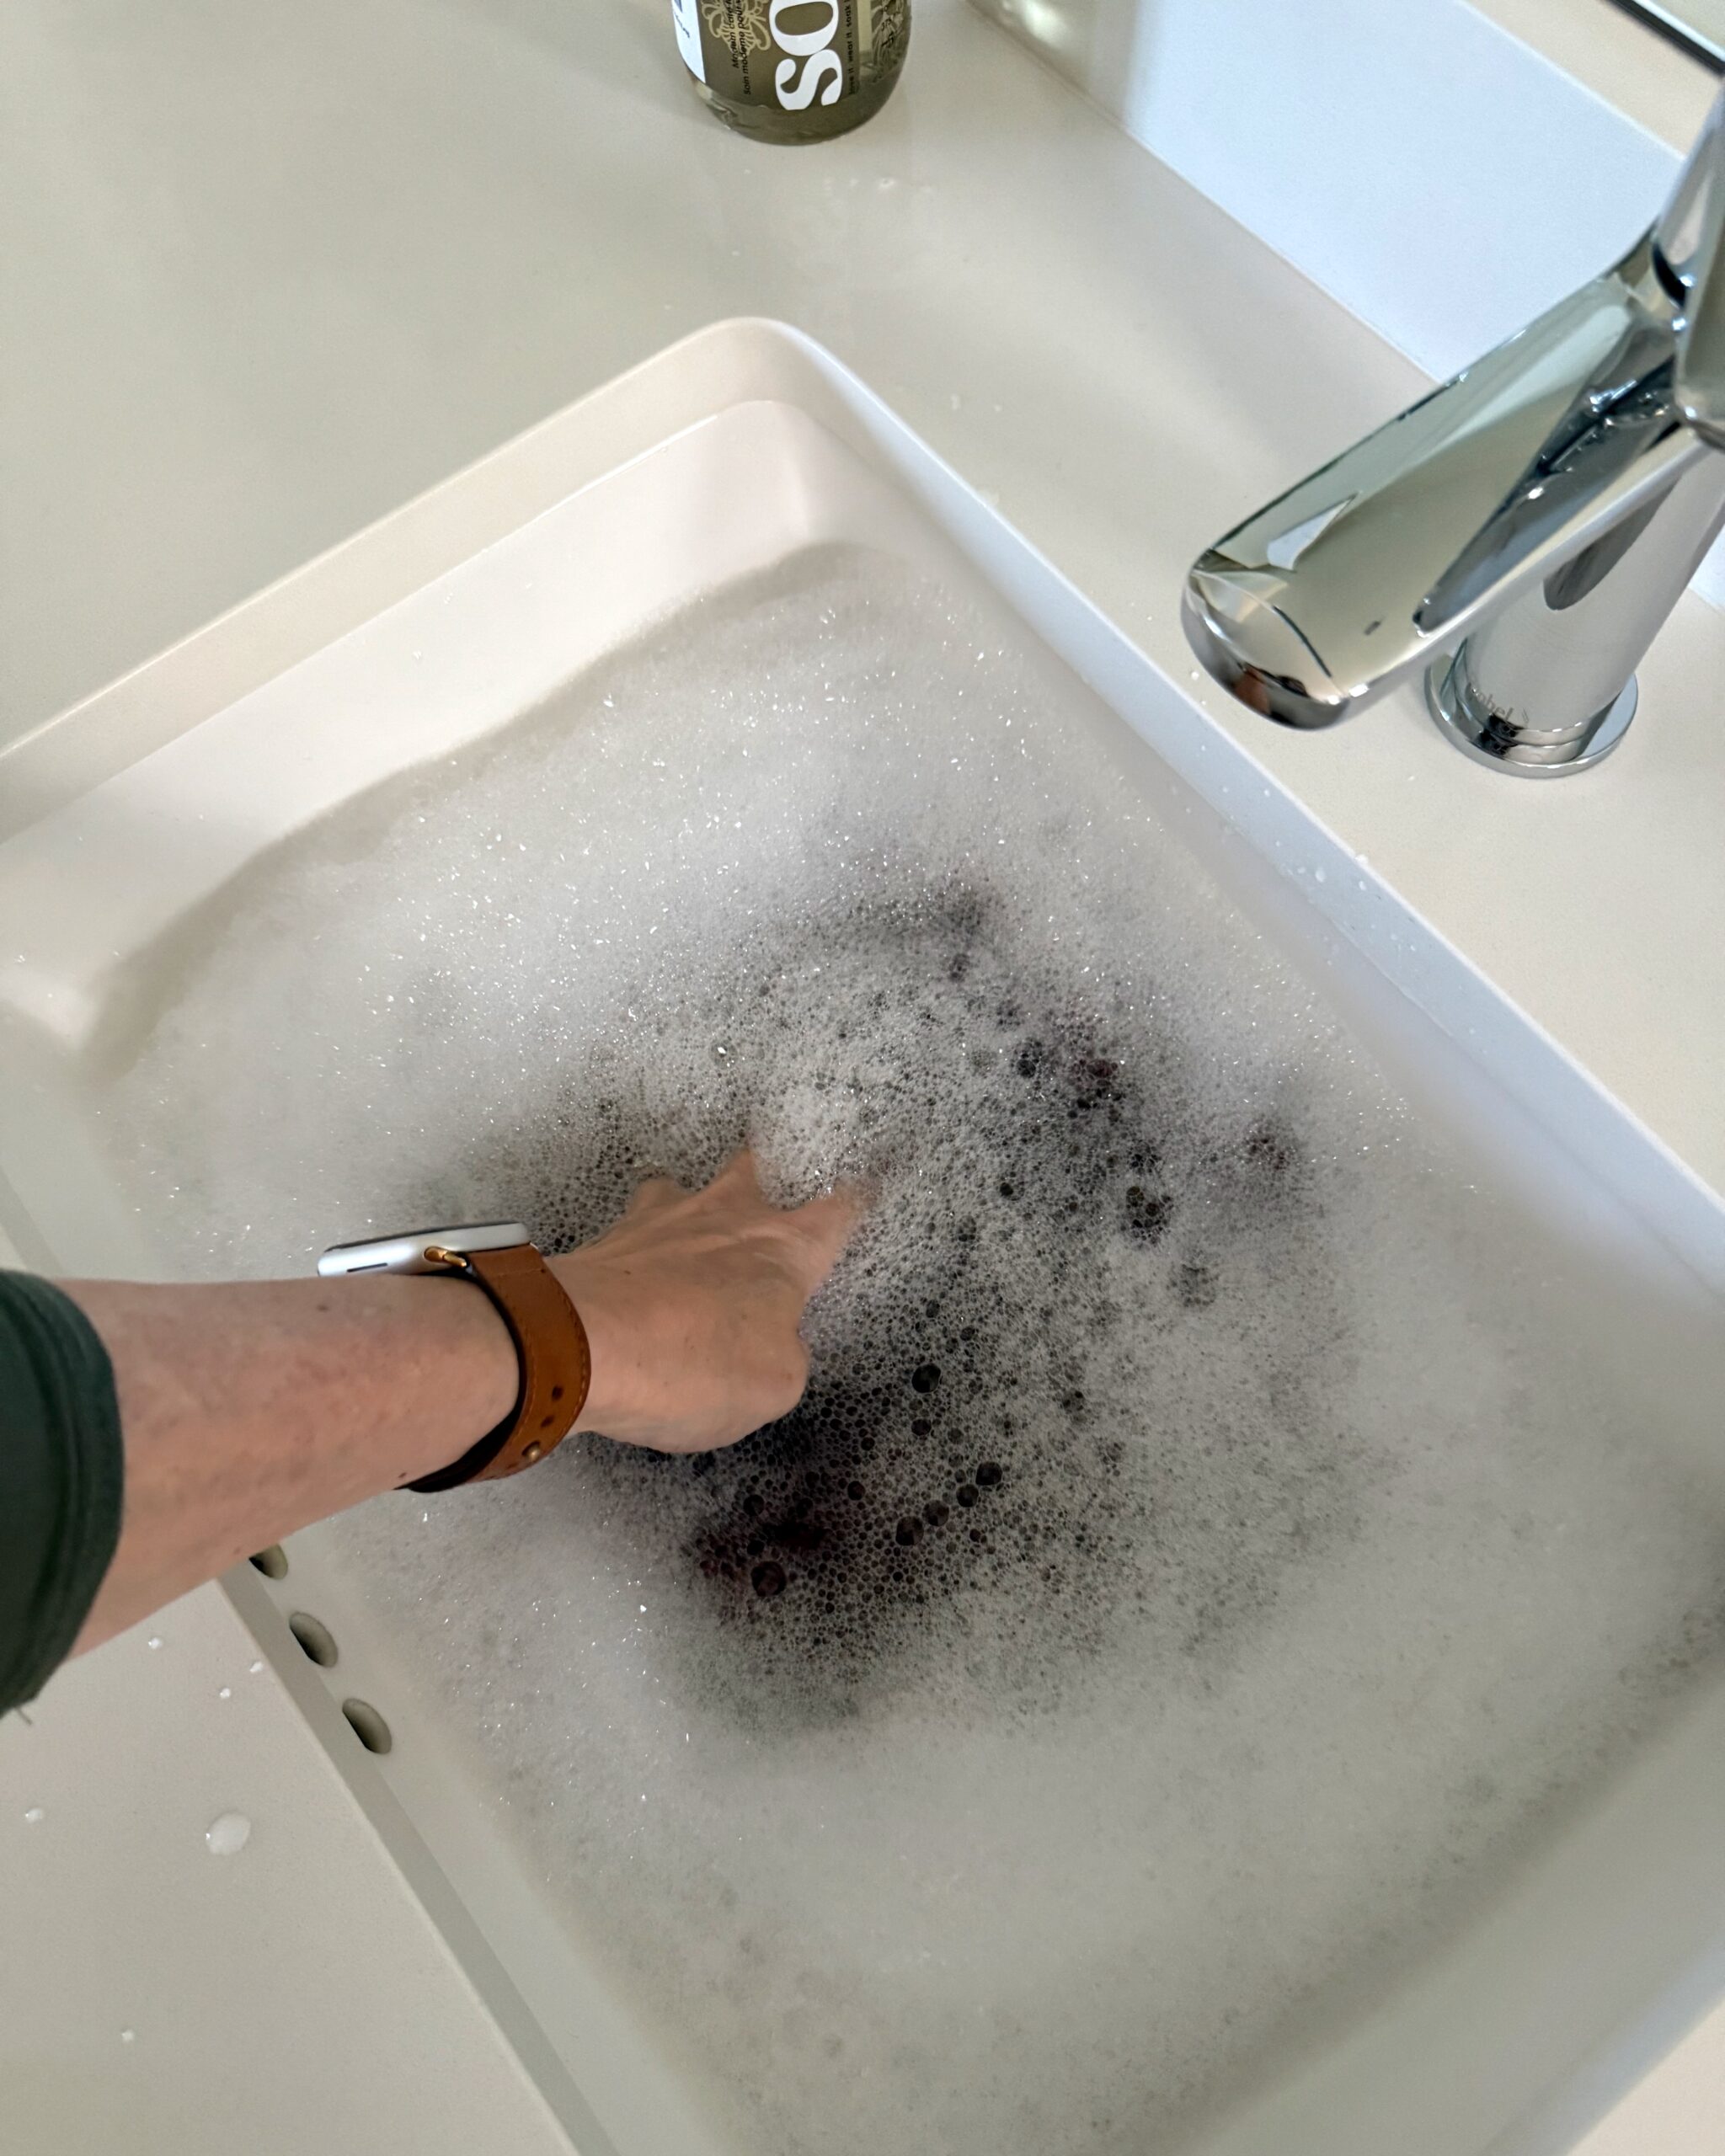
Once the knitting is done, weave in the yarn ends and then soak your cowl in lukewarm water with a suitable wool wash. Rinse if required and then carefully squeeze out the excess water without wringing. Rolling the cowl in a clean towel works beautifully.
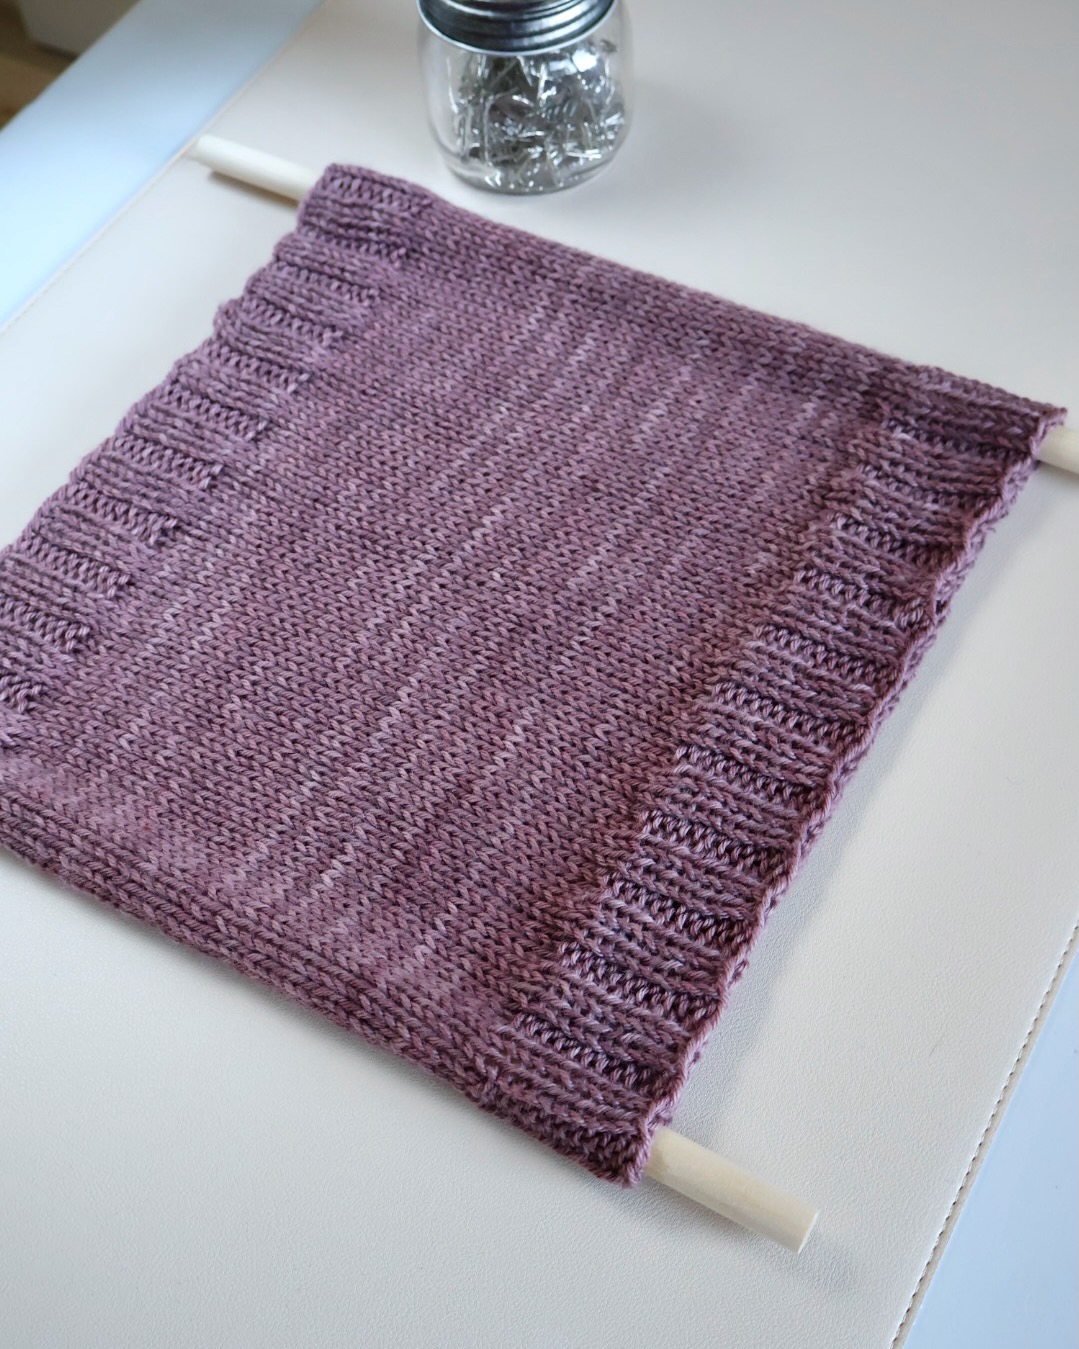
Lay the cowl flat to dry and gently shape it to the finished measurements. Blocking rods or dowels can help to keep the edges strait and even and prevent creasing, but they’re not essential. Allow the cowl to dry completely.
Sugar Plum Cowl Instructions
Materials
- Approximately 200 yd [182 m] of worsted weight yarn. One skein of Madelinetosh Tosh Vintage, SweetGeorgia Merino Worsted, or a comparable worsted weight yarn.
- US size 8 [5.0 mm], 16 inch [40 cm] circular needle, or size needed to obtain gauge.
- 1 stitch marker.
Gauge
- 18 sts and 26 rnds = 4 inches [10 cm] in Stockinette Stitch, worked in the round, after blocking.
Measurements
- Block to these measurements: 11 inches [28 cm] wide and 10.5 inches [26 cm] tall, laid flat. Cowl will shrink back a bit when dry.
- Finished measurements: Approximately 10.5 inches [26 cm] wide and 10 inches [25 cm] tall, laid flat, after blocking. Circumference of cowl is approximately 22 inches [56 cm].
Stitch Guide
- k2, p2 rib: *K2, p2; rep from * to end.
Abbreviations
- k – knit
- p – purl
- rnd(s) – round(s)
- st(s) – stitch(es)
Instructions
Cast on 100 sts. Place marker and join for knitting in the rnd, being careful not to twist the sts. Work k2, p2 rib until piece measures 1.5 inches [4 cm] from cast-on.
Knit until piece measures 8.5 inches [22 cm] from cast-on.
Work k2, p2 rib for 1.5 inches [4 cm].
Finishing
Bind off loosely in pattern (knit the knit sts and purl the purl sts). Weave in all ends. Wash and block to the measurements shown above.
Pattern design by Michelle Krause, Leah Michelle Designs.
© 2015–2026 Leah Michelle Designs. For personal use only. Please do not reproduce, distribute, or sell this pattern without permission.
You Might Also Enjoy
Discover more from Leah Michelle Designs
Subscribe to get the latest posts sent to your email.
Thank you for this simply beautiful pattern
You are welcome! I’m glad that you are enjoying it.
Thanks for this pattern! I think this is what I’ll make next – for my second project ever. As a beginner, I feel like I can actually understand your instructions – so thanks again! If I do make it, I’ll write a blog post about it. Can I link your blog within my post to give you credit?
Yes, for sure! Thanks. Enjoy the pattern!
If you do a crochet cast on, the two edges will match. If you do a long-tail cast on they will not.
Good tip. Thanks!
Michelle
I’m confused. If you’re knitting in the round why would you need your edges to match?
Thanks for your pattern . I recently finished a cowl and many people liked it.
Love this beautiful cowl. Do you have a pdf of the pattern?
Thanks,
Julia
No, sorry, there is not a pdf.
Hello. I’d like to make this for my four year old son and am wondering if you can recommend an adjusted pattern (number of cast on stitches). Thx!
I haven’t personally made a smaller version of this so I can’t recommend a definite number of stitches to cast on. You will want to cast on fewer stitches than called for in the pattern and you must remember that your total number of cast on stitches has to be divisible by 4. According to the gauge, one inch of the circumference equals 4.5 stitches. So if you were to cast on 96 stitches (100-4) the cowl circumference will be roughly 1 inch smaller, and 92 stitches (100-8) would make it almost close to 2 inches smaller, and so on. I hope this helps you!
It does thanks SO much!
Hi I made a cowl last winter and started the beanie hat but in my move lost the pattern ..do you have that online .waaaaaaa
Hi Michelle
I’ve been looking for this simple pattern to knit a fine merino wool neck warner for my husband to replace a tatty cotton one he was given years ago! Should I use the same number of cast on stitches with 5mm dpn needles? Thanks 🙂
Yes! This is a great question. You can absolutely use dpns to knit this pattern.
Love this easy knitting project, and your cowl turned out so cute and cozy! I’ve featured your pattern on Crafts on Display – hope you enjoy it! https://craftsondisplay.com/knitting/cozy-one-skein-cowl-151556/
Thank you!!
How can I print your patterns?
Hi! The free patterns do not have printable versions. They are only available here on the website. You could copy and paste the instructions into a program like MicroSoft Word and print from there. I hope that helps!