
Are you thinking about trying a sideways shawl or shawlette pattern but you’re not sure how to block it? Or, you’ve finished knitting one and you’re convinced that there is no way you can make it look like the finished photo in the pattern? Well, blocking a sideways shawlette is about as easy as knitting one.
These shawlettes are so easy. You don’t have to cast on or bind off a lot of stitches. You start with a few stitches at one end, increase to the middle, and decrease back down to a few stitches at the other end. My Sweet Summer Shawl starts and ends with 18 stitches. Lacy Lady Shawlette, with 14. And the best one yet is my Zigzag Diamond Shawl which starts and ends with only 6 stitches. Another great feature is that these types of shawlettes are worked in one piece. The lace edging is knitted along with the garter or stockinette body. It isn’t added on later. Plus, these patterns usually only require one skein of yarn. Perfect for that single skein of luxury fibre or hand-dyed yarn, right?
Often, these shawlettes are knitted in a fingering weight yarn on larger needles. Both my Sweet Summer Shawl and Zigzag Diamond Shawl were designed in SweetGeorgia Cashluxe Fine, a merino/cashmere/nylon blend, and knitted on US size 6, or 4 mm, needles. Using a wool or wool blend yarn and wet blocking it is the key to achieving the shawlette’s finished size and gauge, opening the lace pattern, and making it as light as a feather around your shoulders. We know that wool will conform to any shape you choose when it is wet. And it will stay that way after it dries (until it becomes wet again). So. let’s take a look at how it’s done.
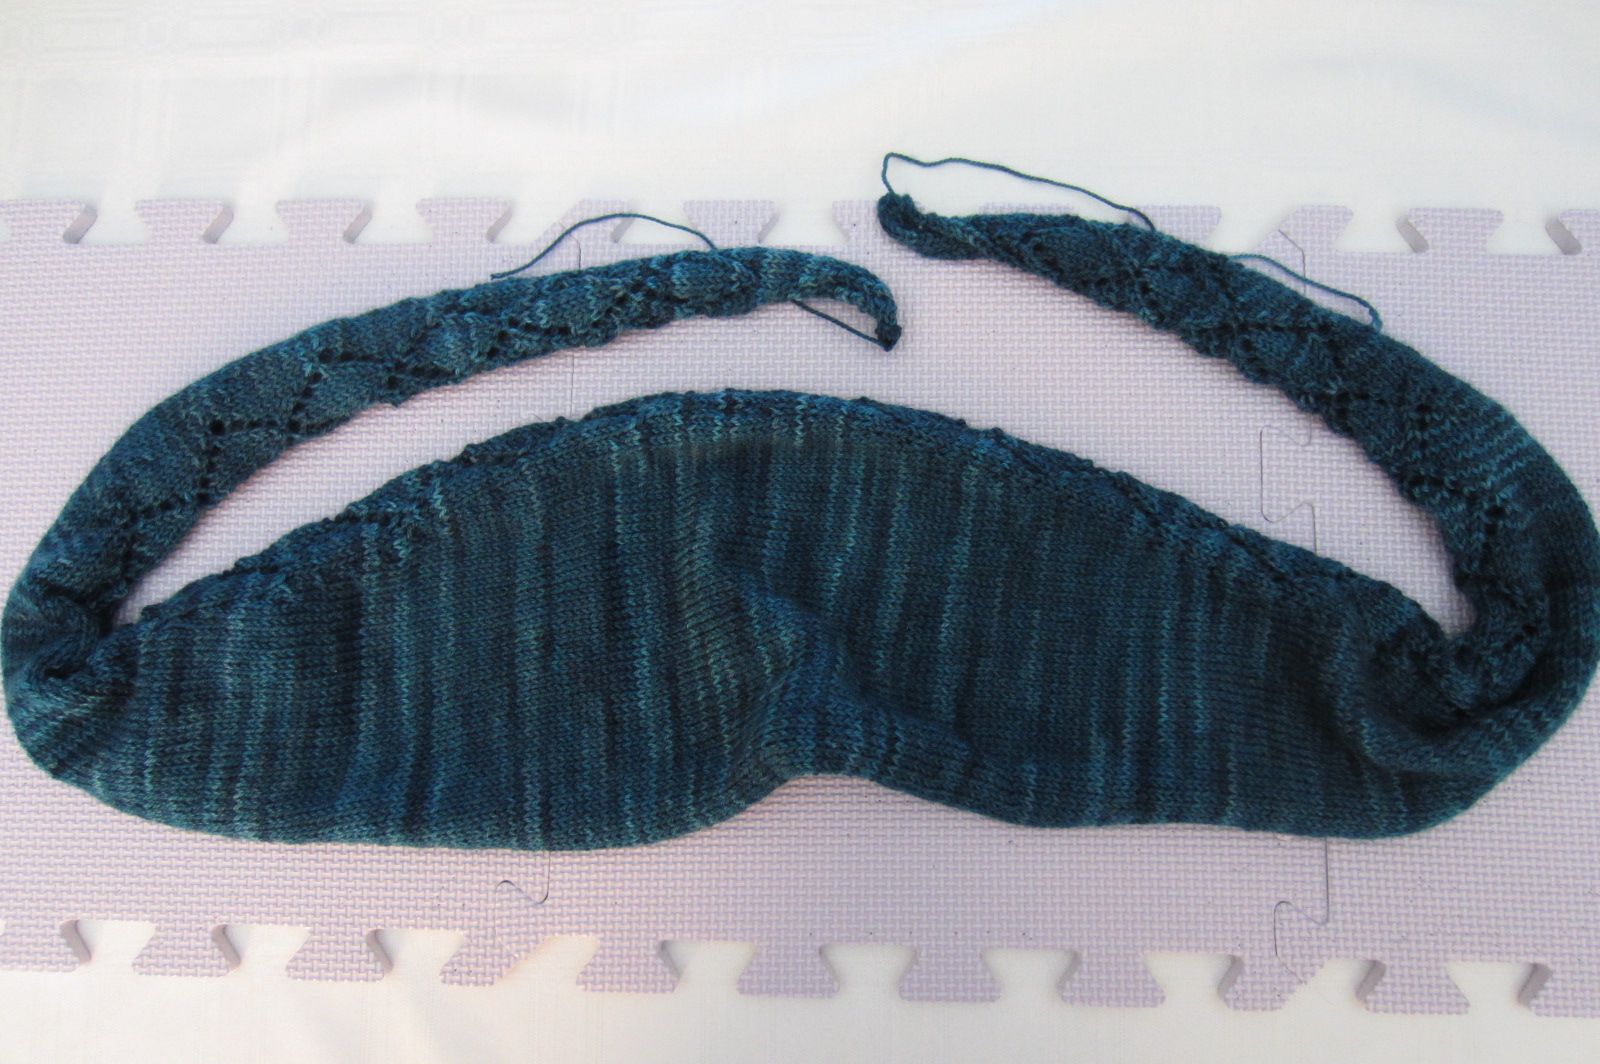
Here is a ‘before’ photo of my Zigzag Diamond Shawl, fresh off the needles:
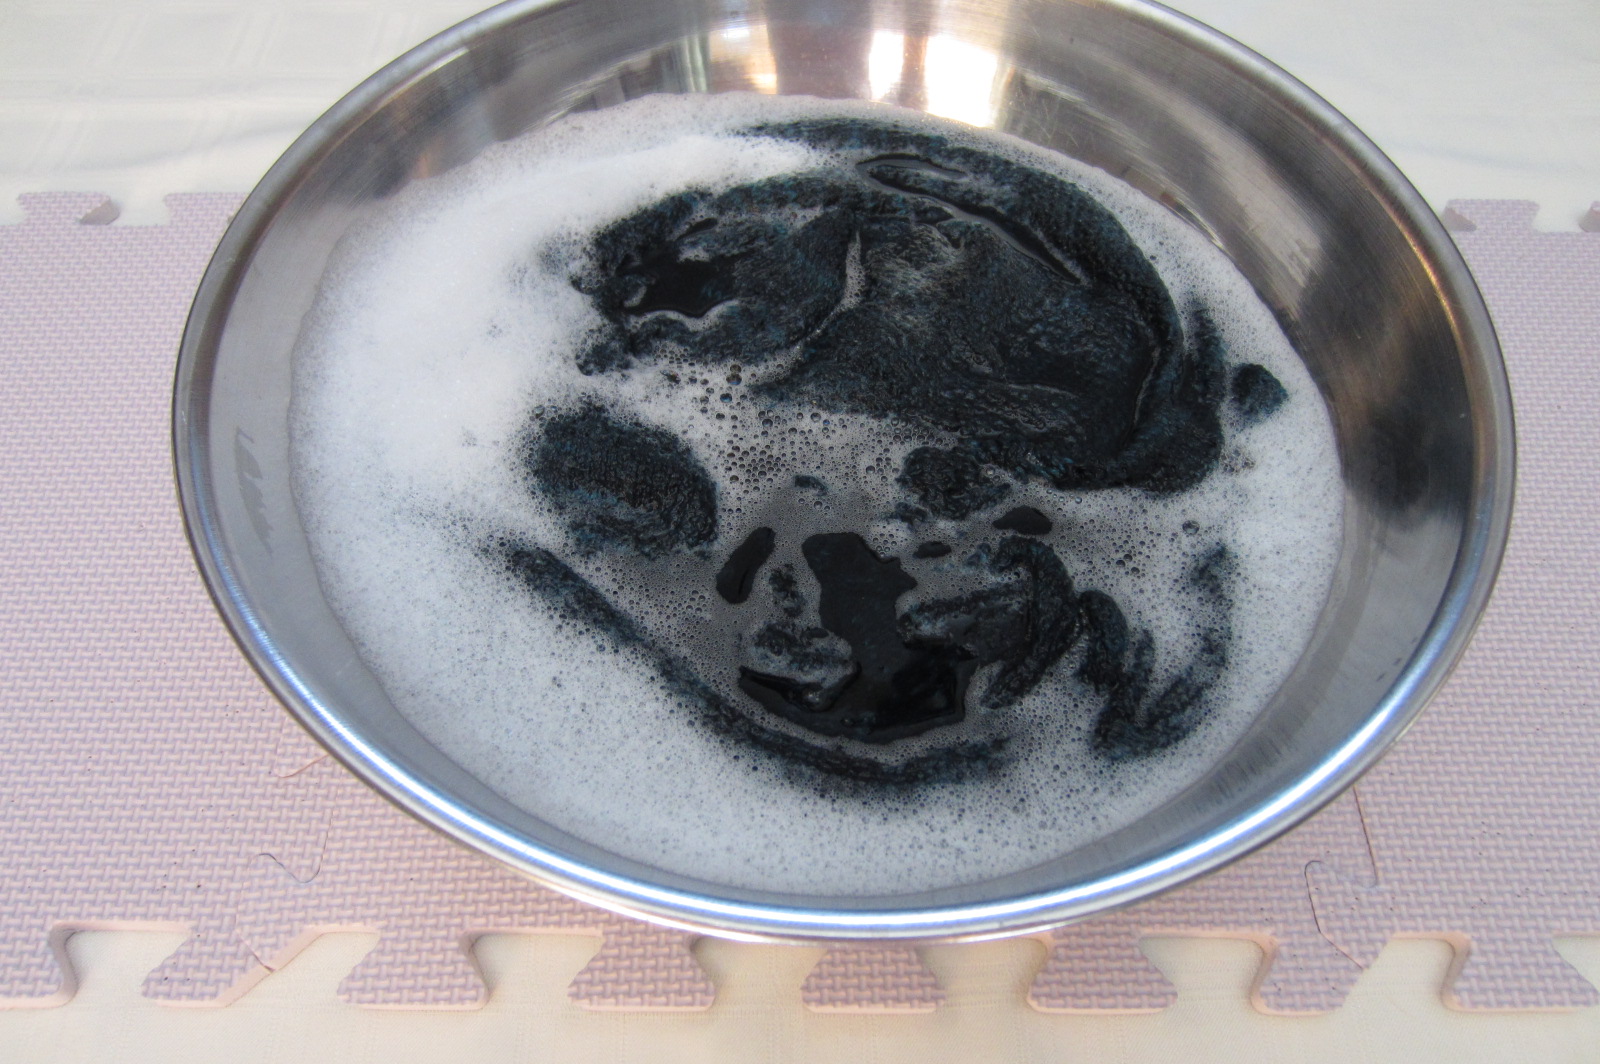
Weave in the ends, and then gather this equipment: a bowl (or you can use the sink!), water, some wool wash such as Soak or Eucalan, a towel to remove as much moisture as possible, and blocking tools. I will use pins and blocking boards to block this shawlette.

Soak the shawlette in cool water and wool wash. Soak it long enough for the fibre to become saturated.
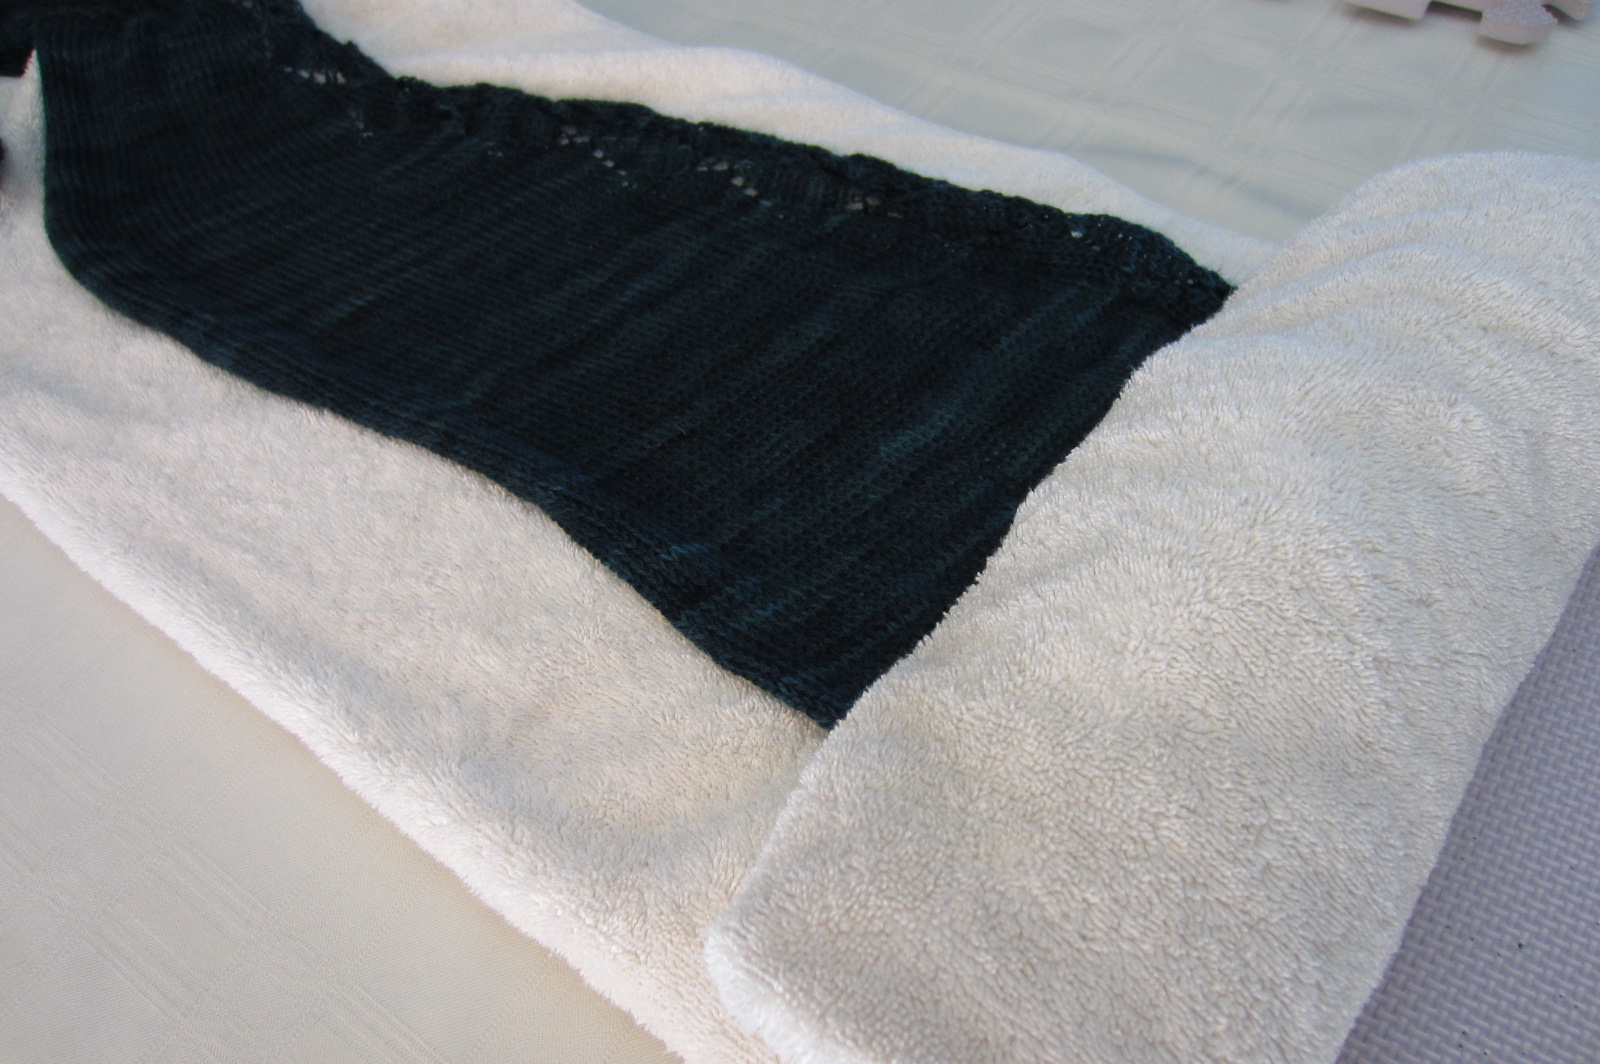
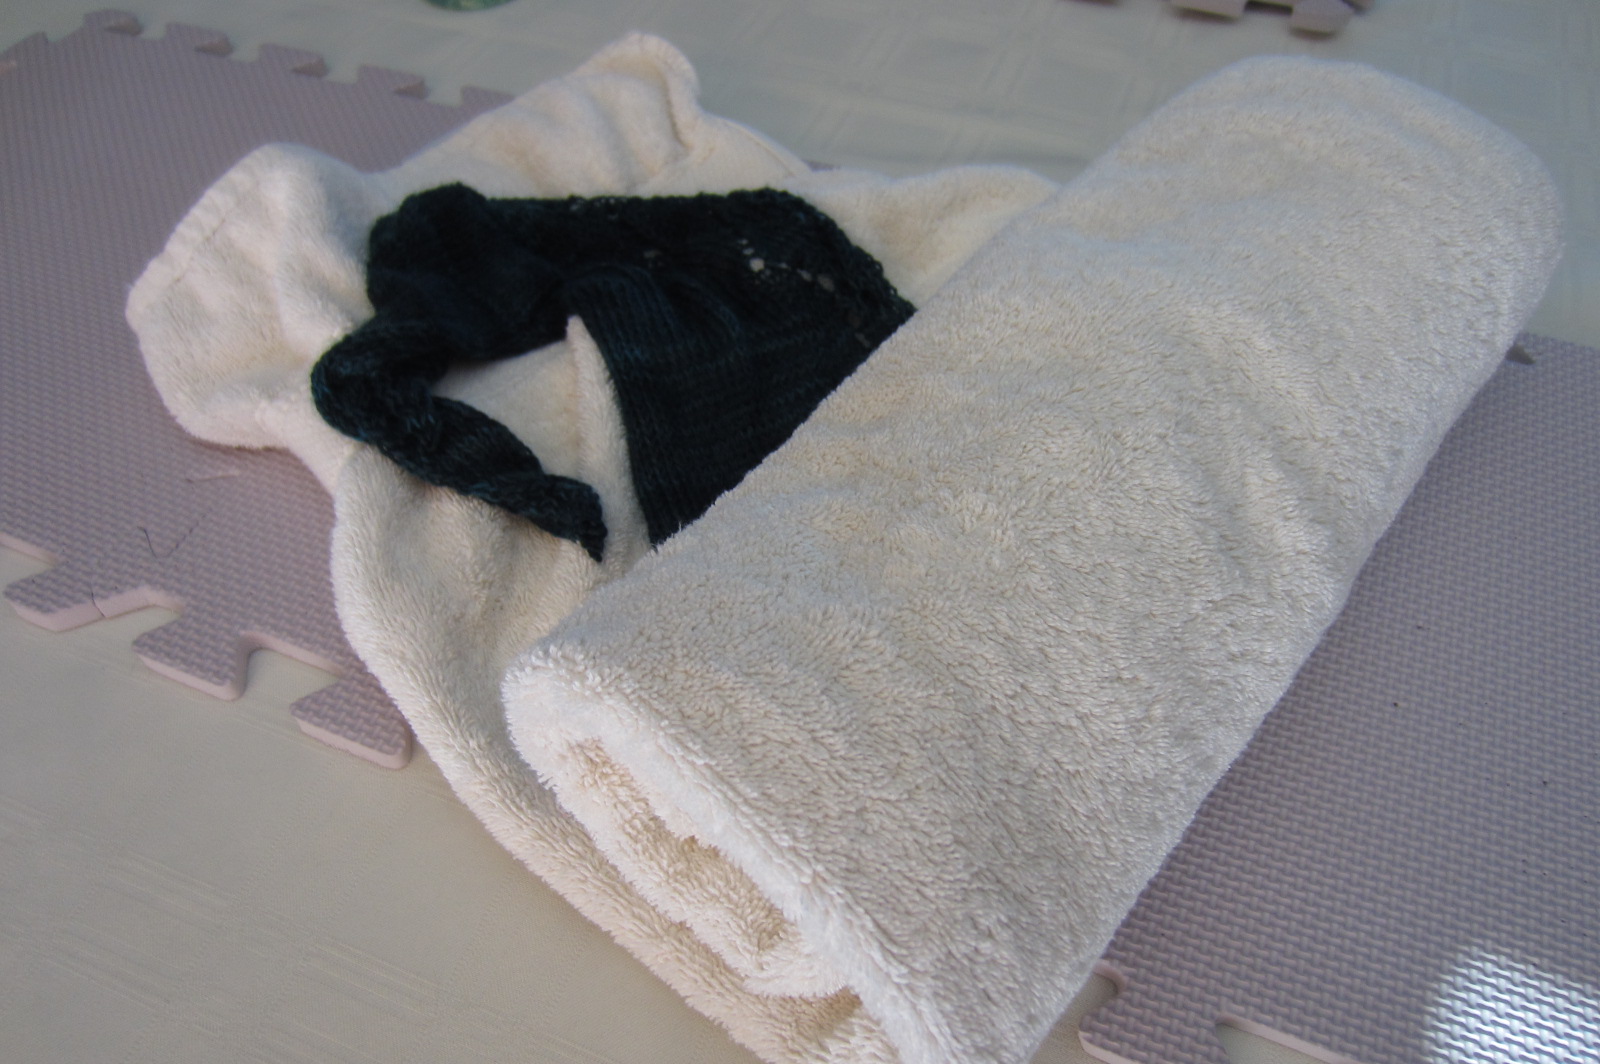
Remove it from the water and gently squeeze the water out of it. Lay it flat on a towel and roll it in the towel, gently squeezing more moisture out.
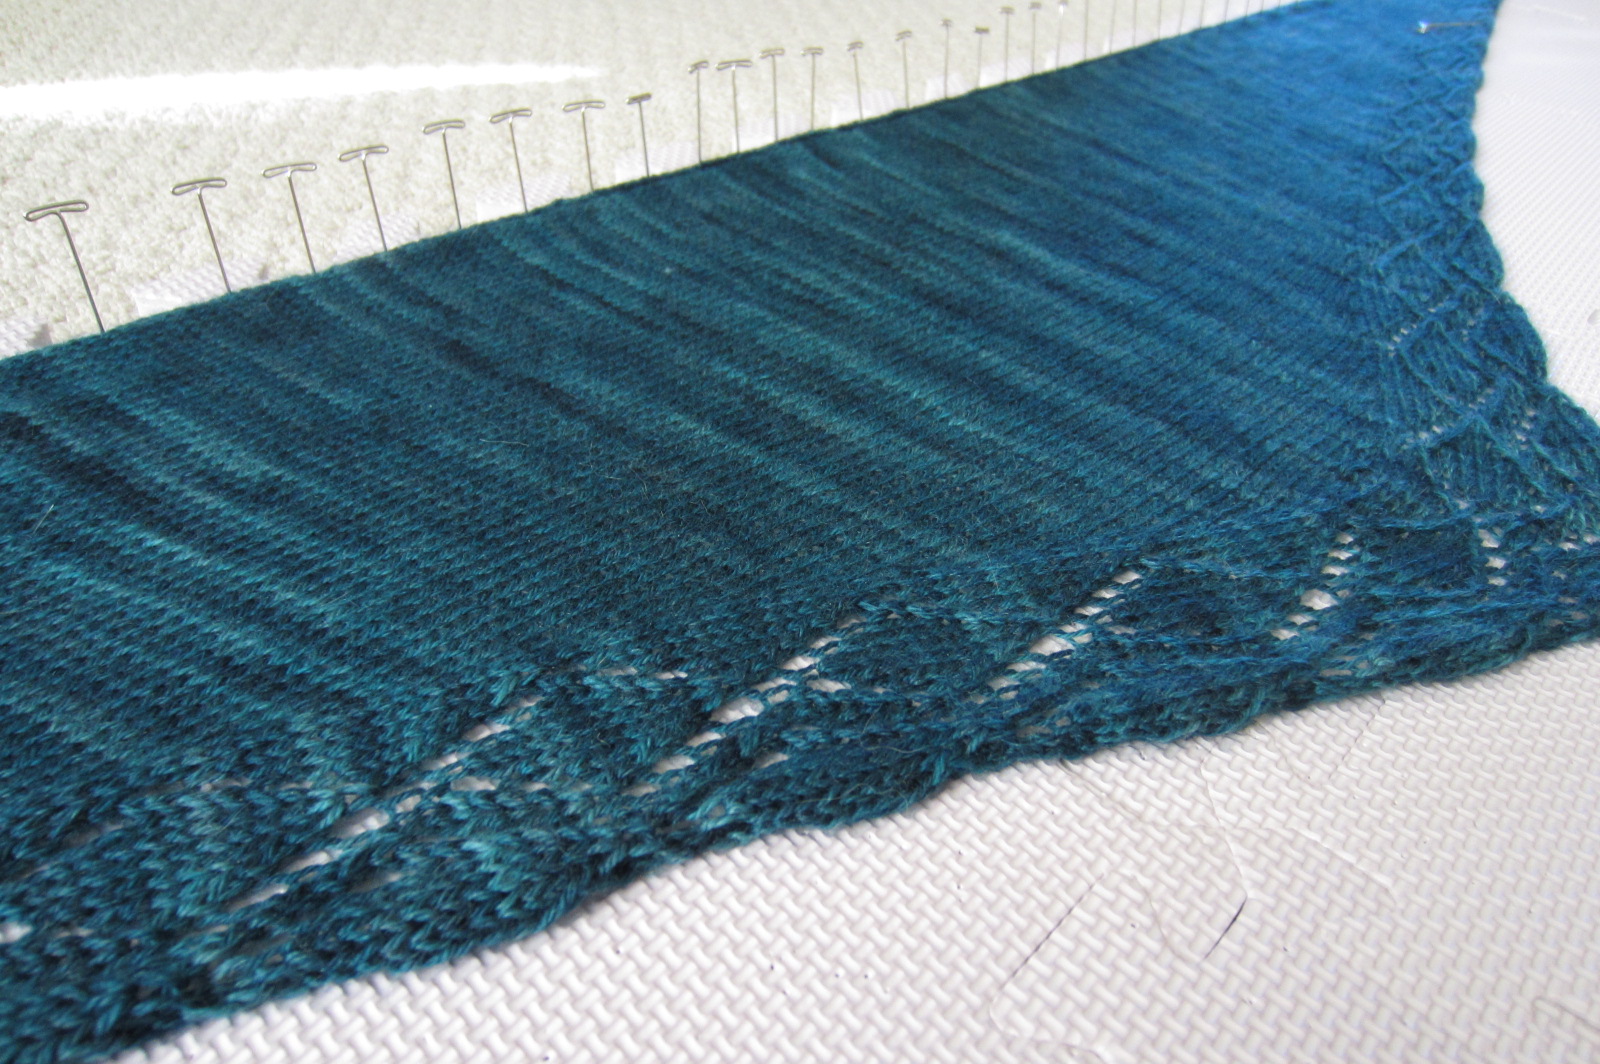
Now it’s time to start pinning it out on the blocking boards. Piece the boards together into a shape that will accommodate the finished size of the shawlette. You can do this on a tabletop, or the floor. Start by pinning the long edge to the finished length measurement.
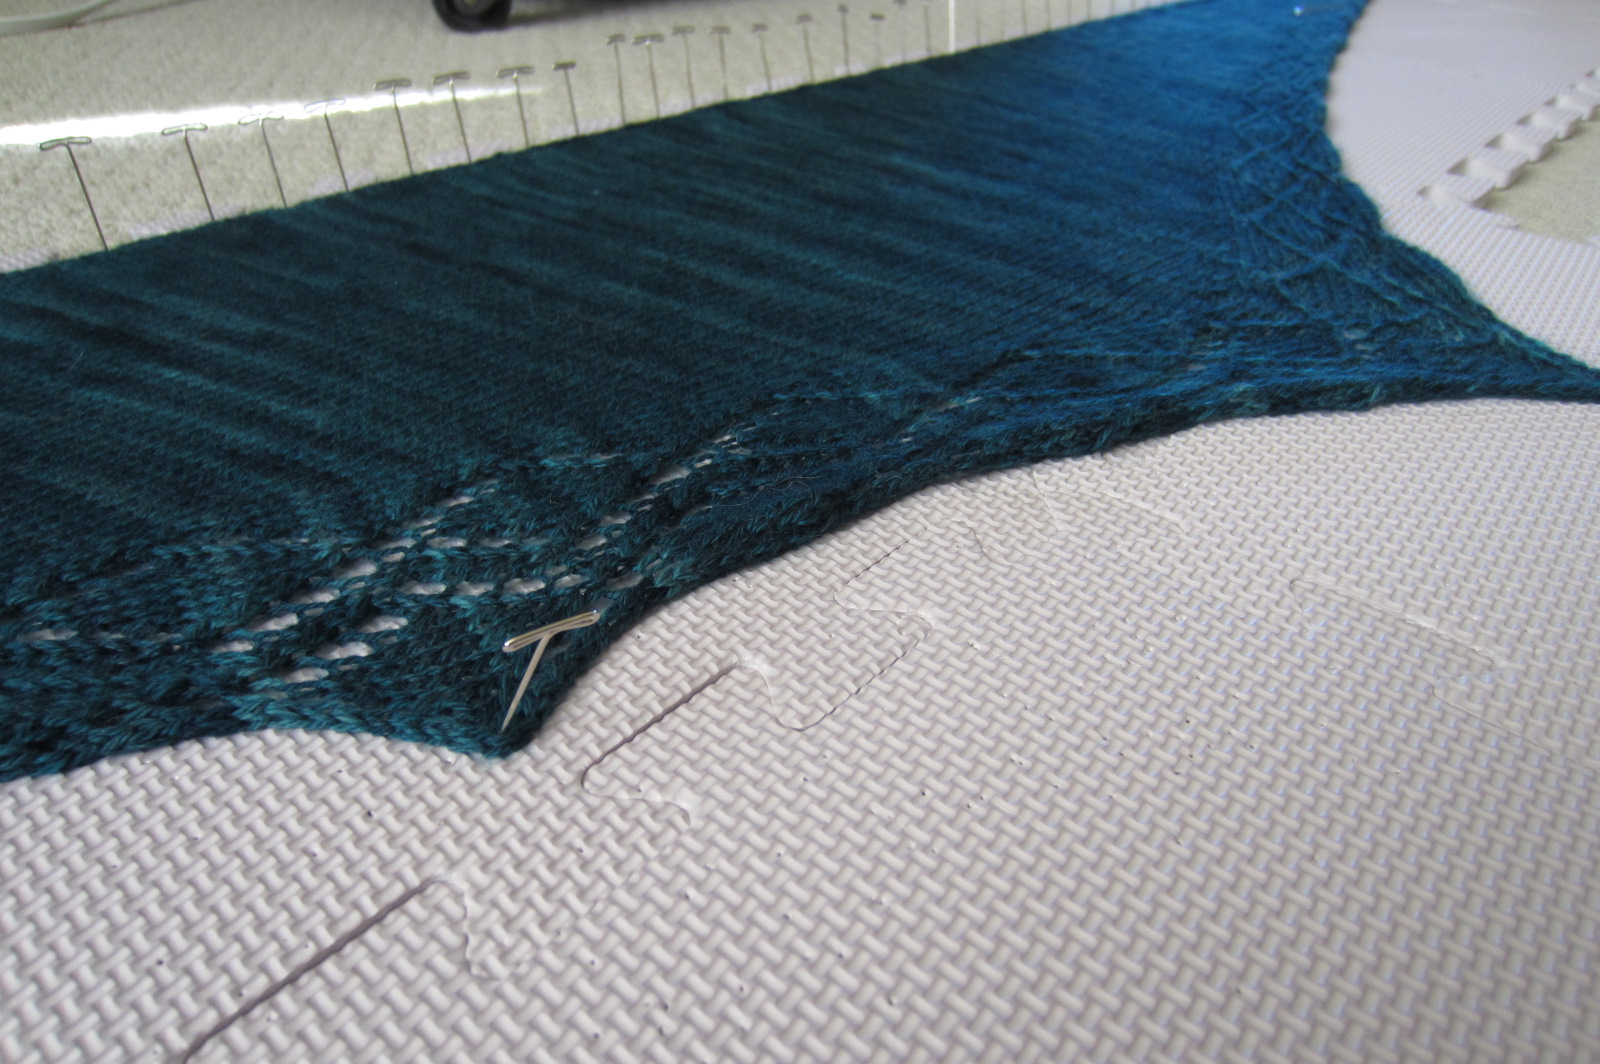
Next, pull the centre point down and pin it to the finished middle point measurement. Pin every third or fourth point, working your way toward each end, in the desired shape.
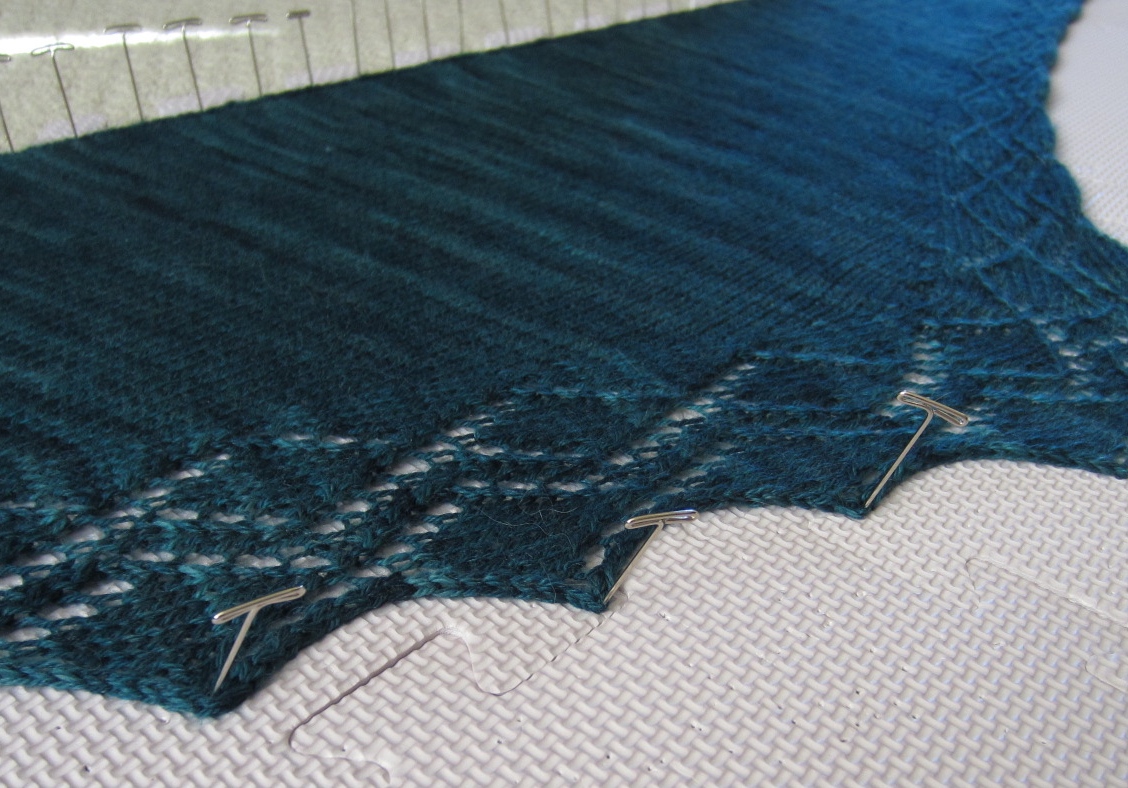
Then, pin all of the points in between. You might also need to add more pins now to the straight edge if it is being pulled by the pinned points. Use as many pins as needed to get a straight edge. I use a lot!
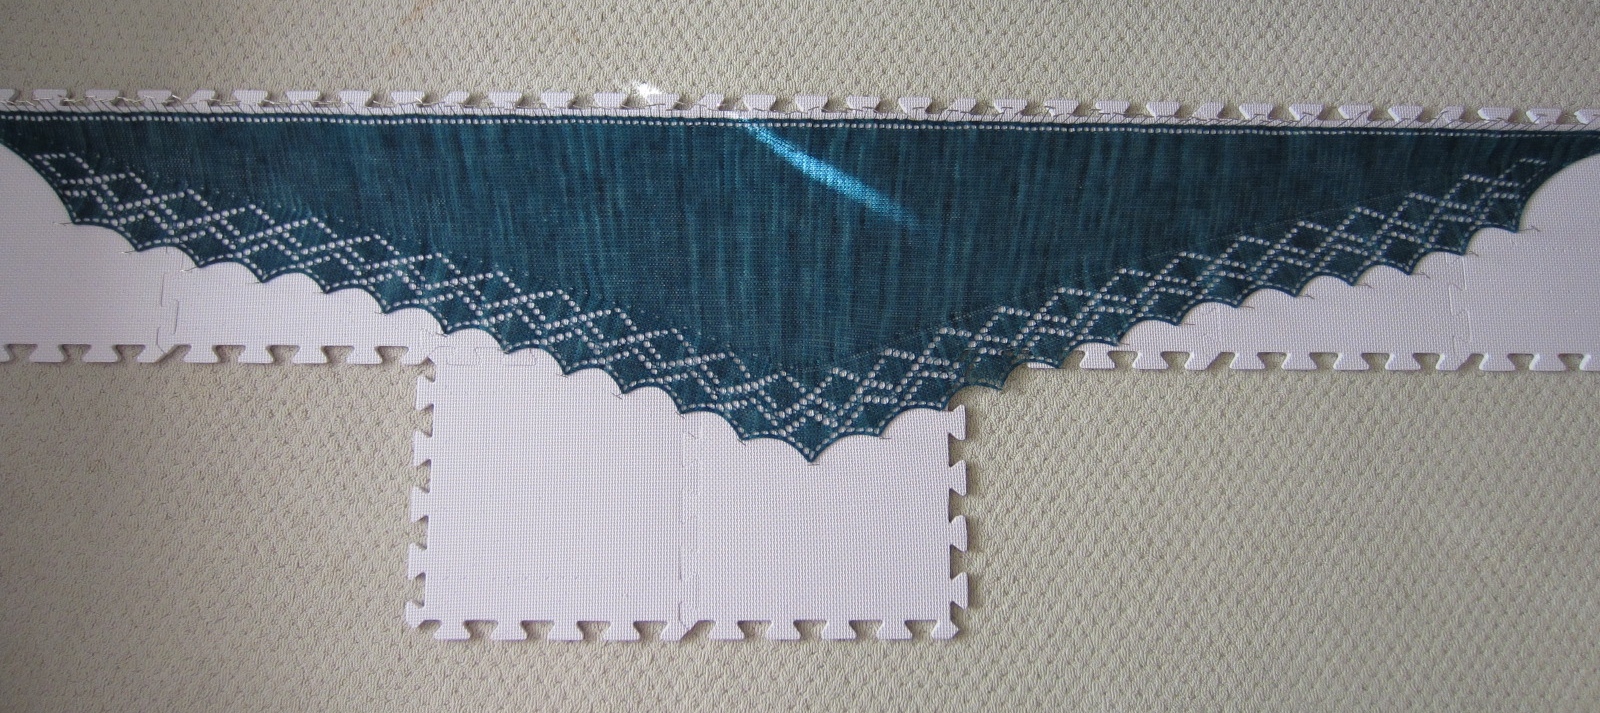
Here is what my shawlette looks like once all of the pins have been placed.
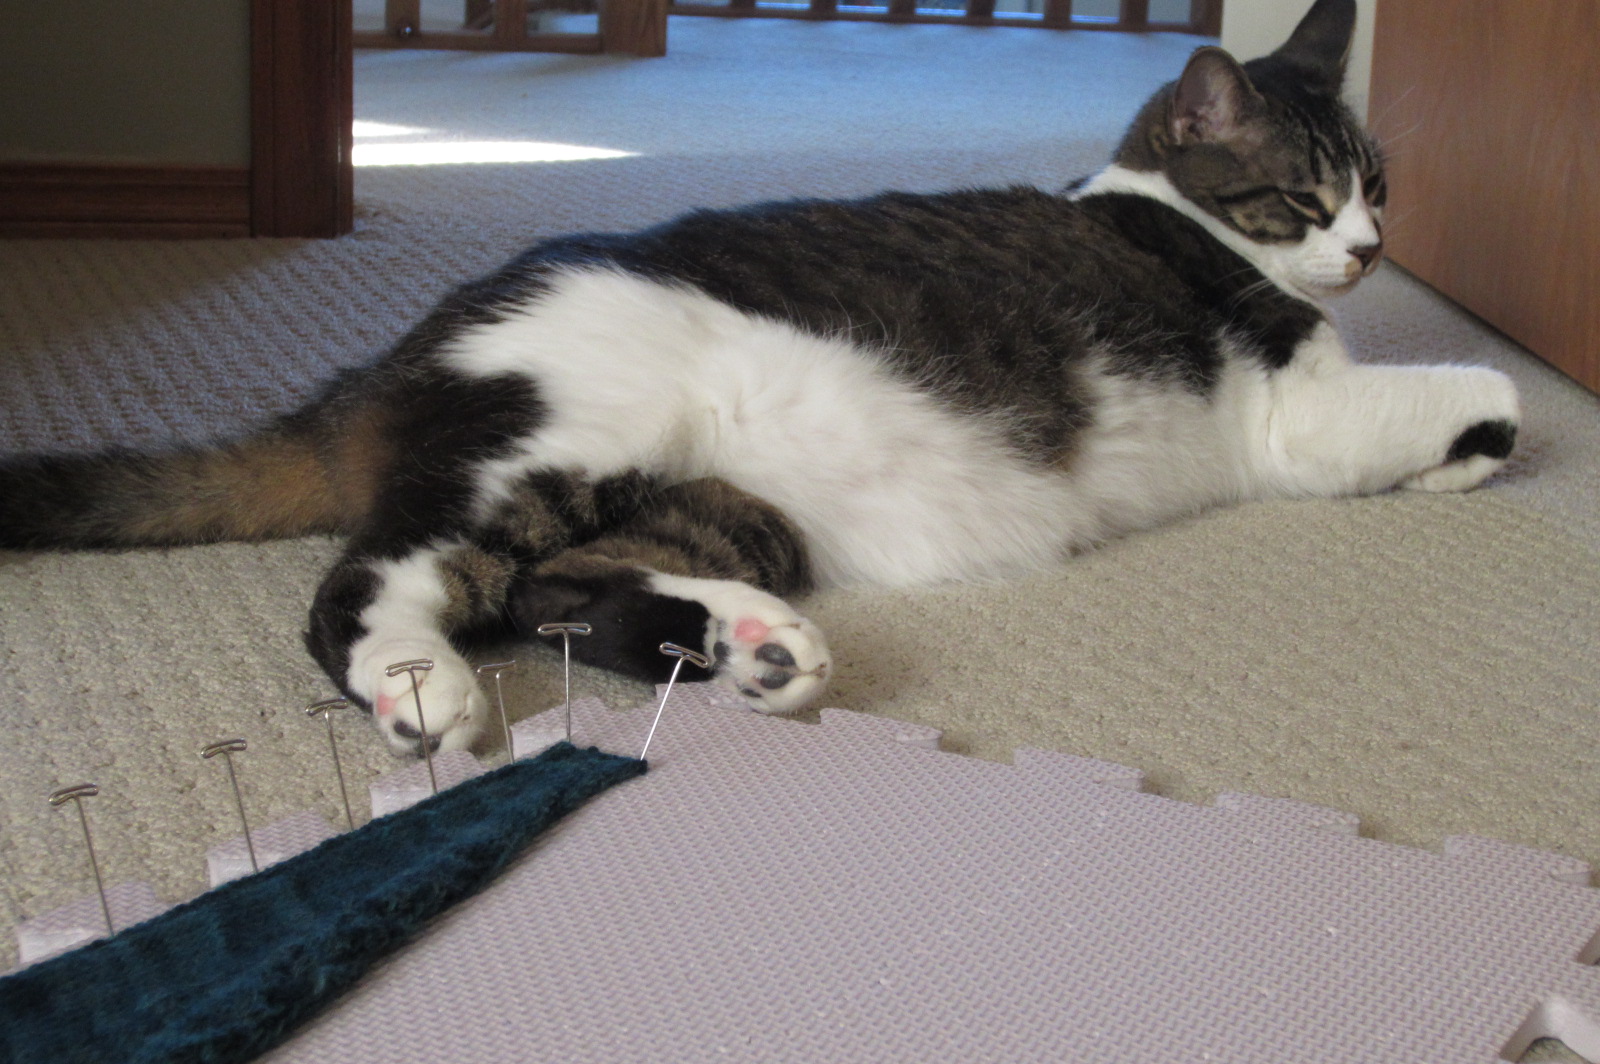
Oh, and I almost forgot…. There is one more piece of equipment that you might need for this process before you are completely done. If you live with furry friends who love to assist you while blocking, a lint brush becomes a necessary tool!
That wasn’t so hard was it? Remember that ‘before’ photo? Here it is again, beside the ‘finished’ photo. What a difference blocking makes!


Here are some additional resources:
“How to Block Knitting.” http://knitting.about.com/od/learntoknit/a/blocking_knits.htm.
“To Block or Not to Block.” http://www.knitty.com/ISSUEwinter02/FEATdiyknitter.html.
Discover more from Leah Michelle Designs
Subscribe to get the latest posts sent to your email.